
Our Process: From Raw Wood to Finished Flag
Every piece we build starts as plain lumber and ends up telling a story. Here’s the process behind our wavy wood flags, start to finish — using our Marine Riders Michiana flag as the example.
1. It Starts With Raw Wood
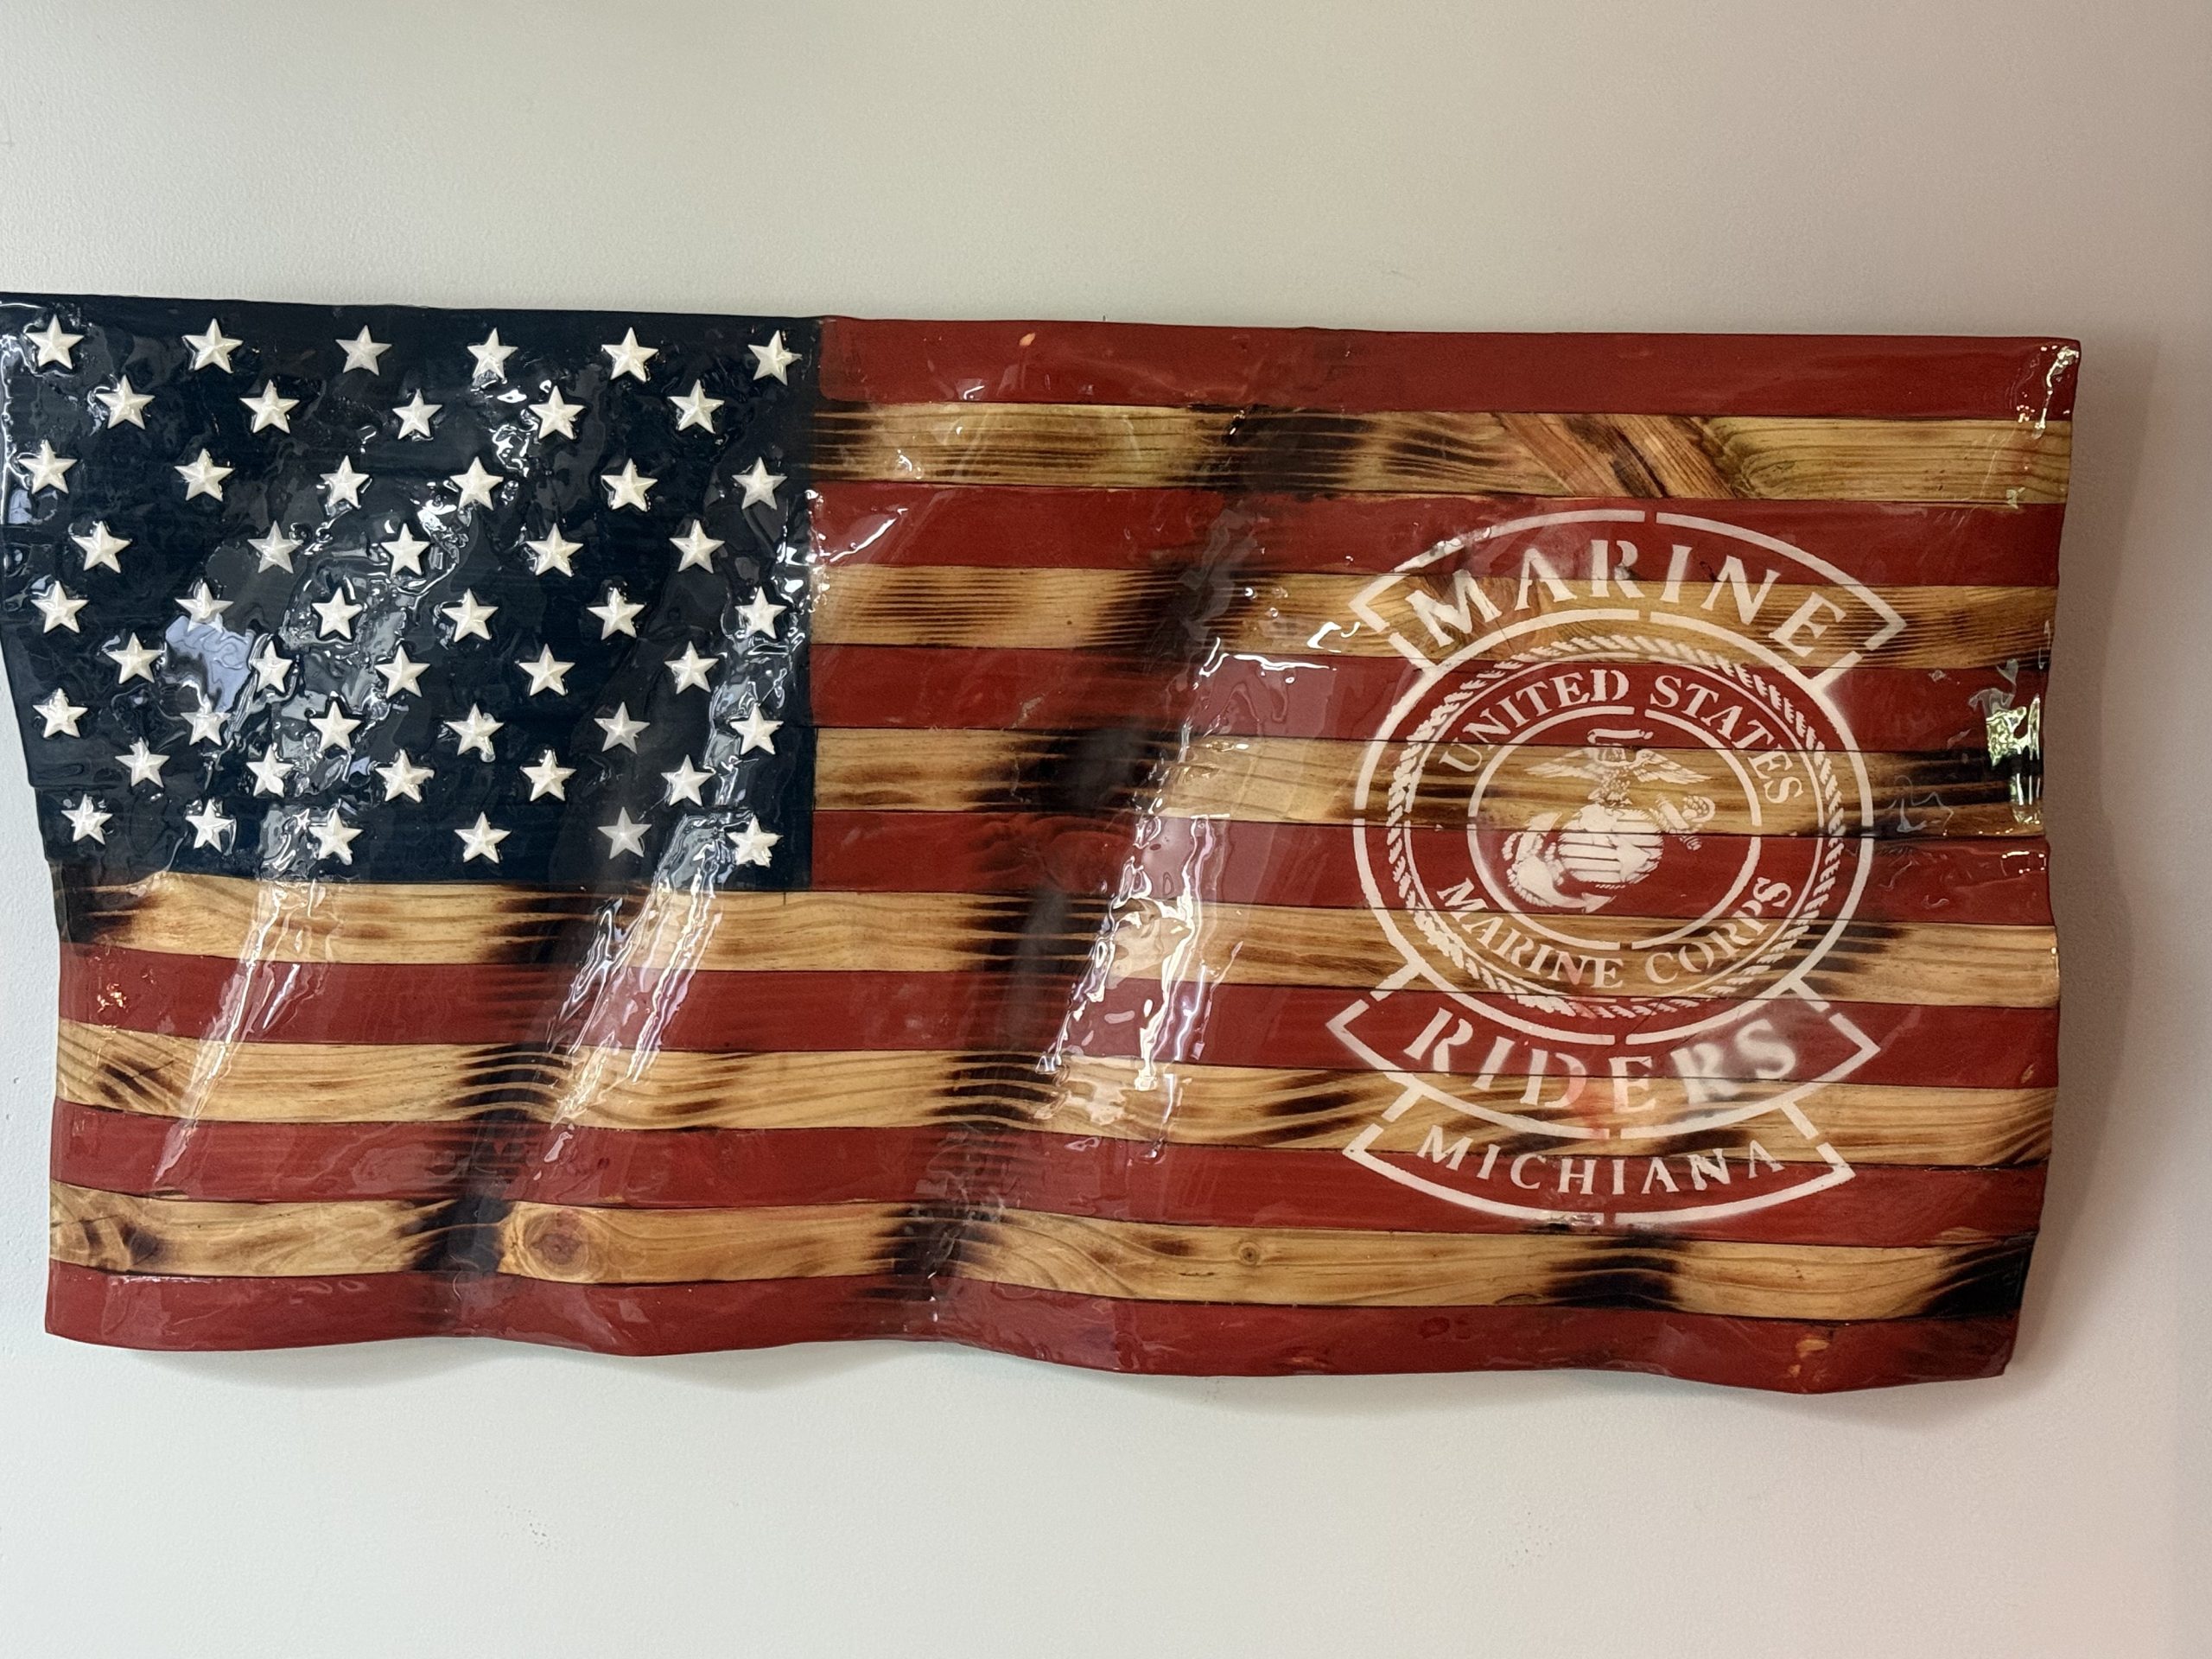
We glue up plain pine boards into a single panel — no shortcuts, no plywood. This is the blank canvas every flag starts from.
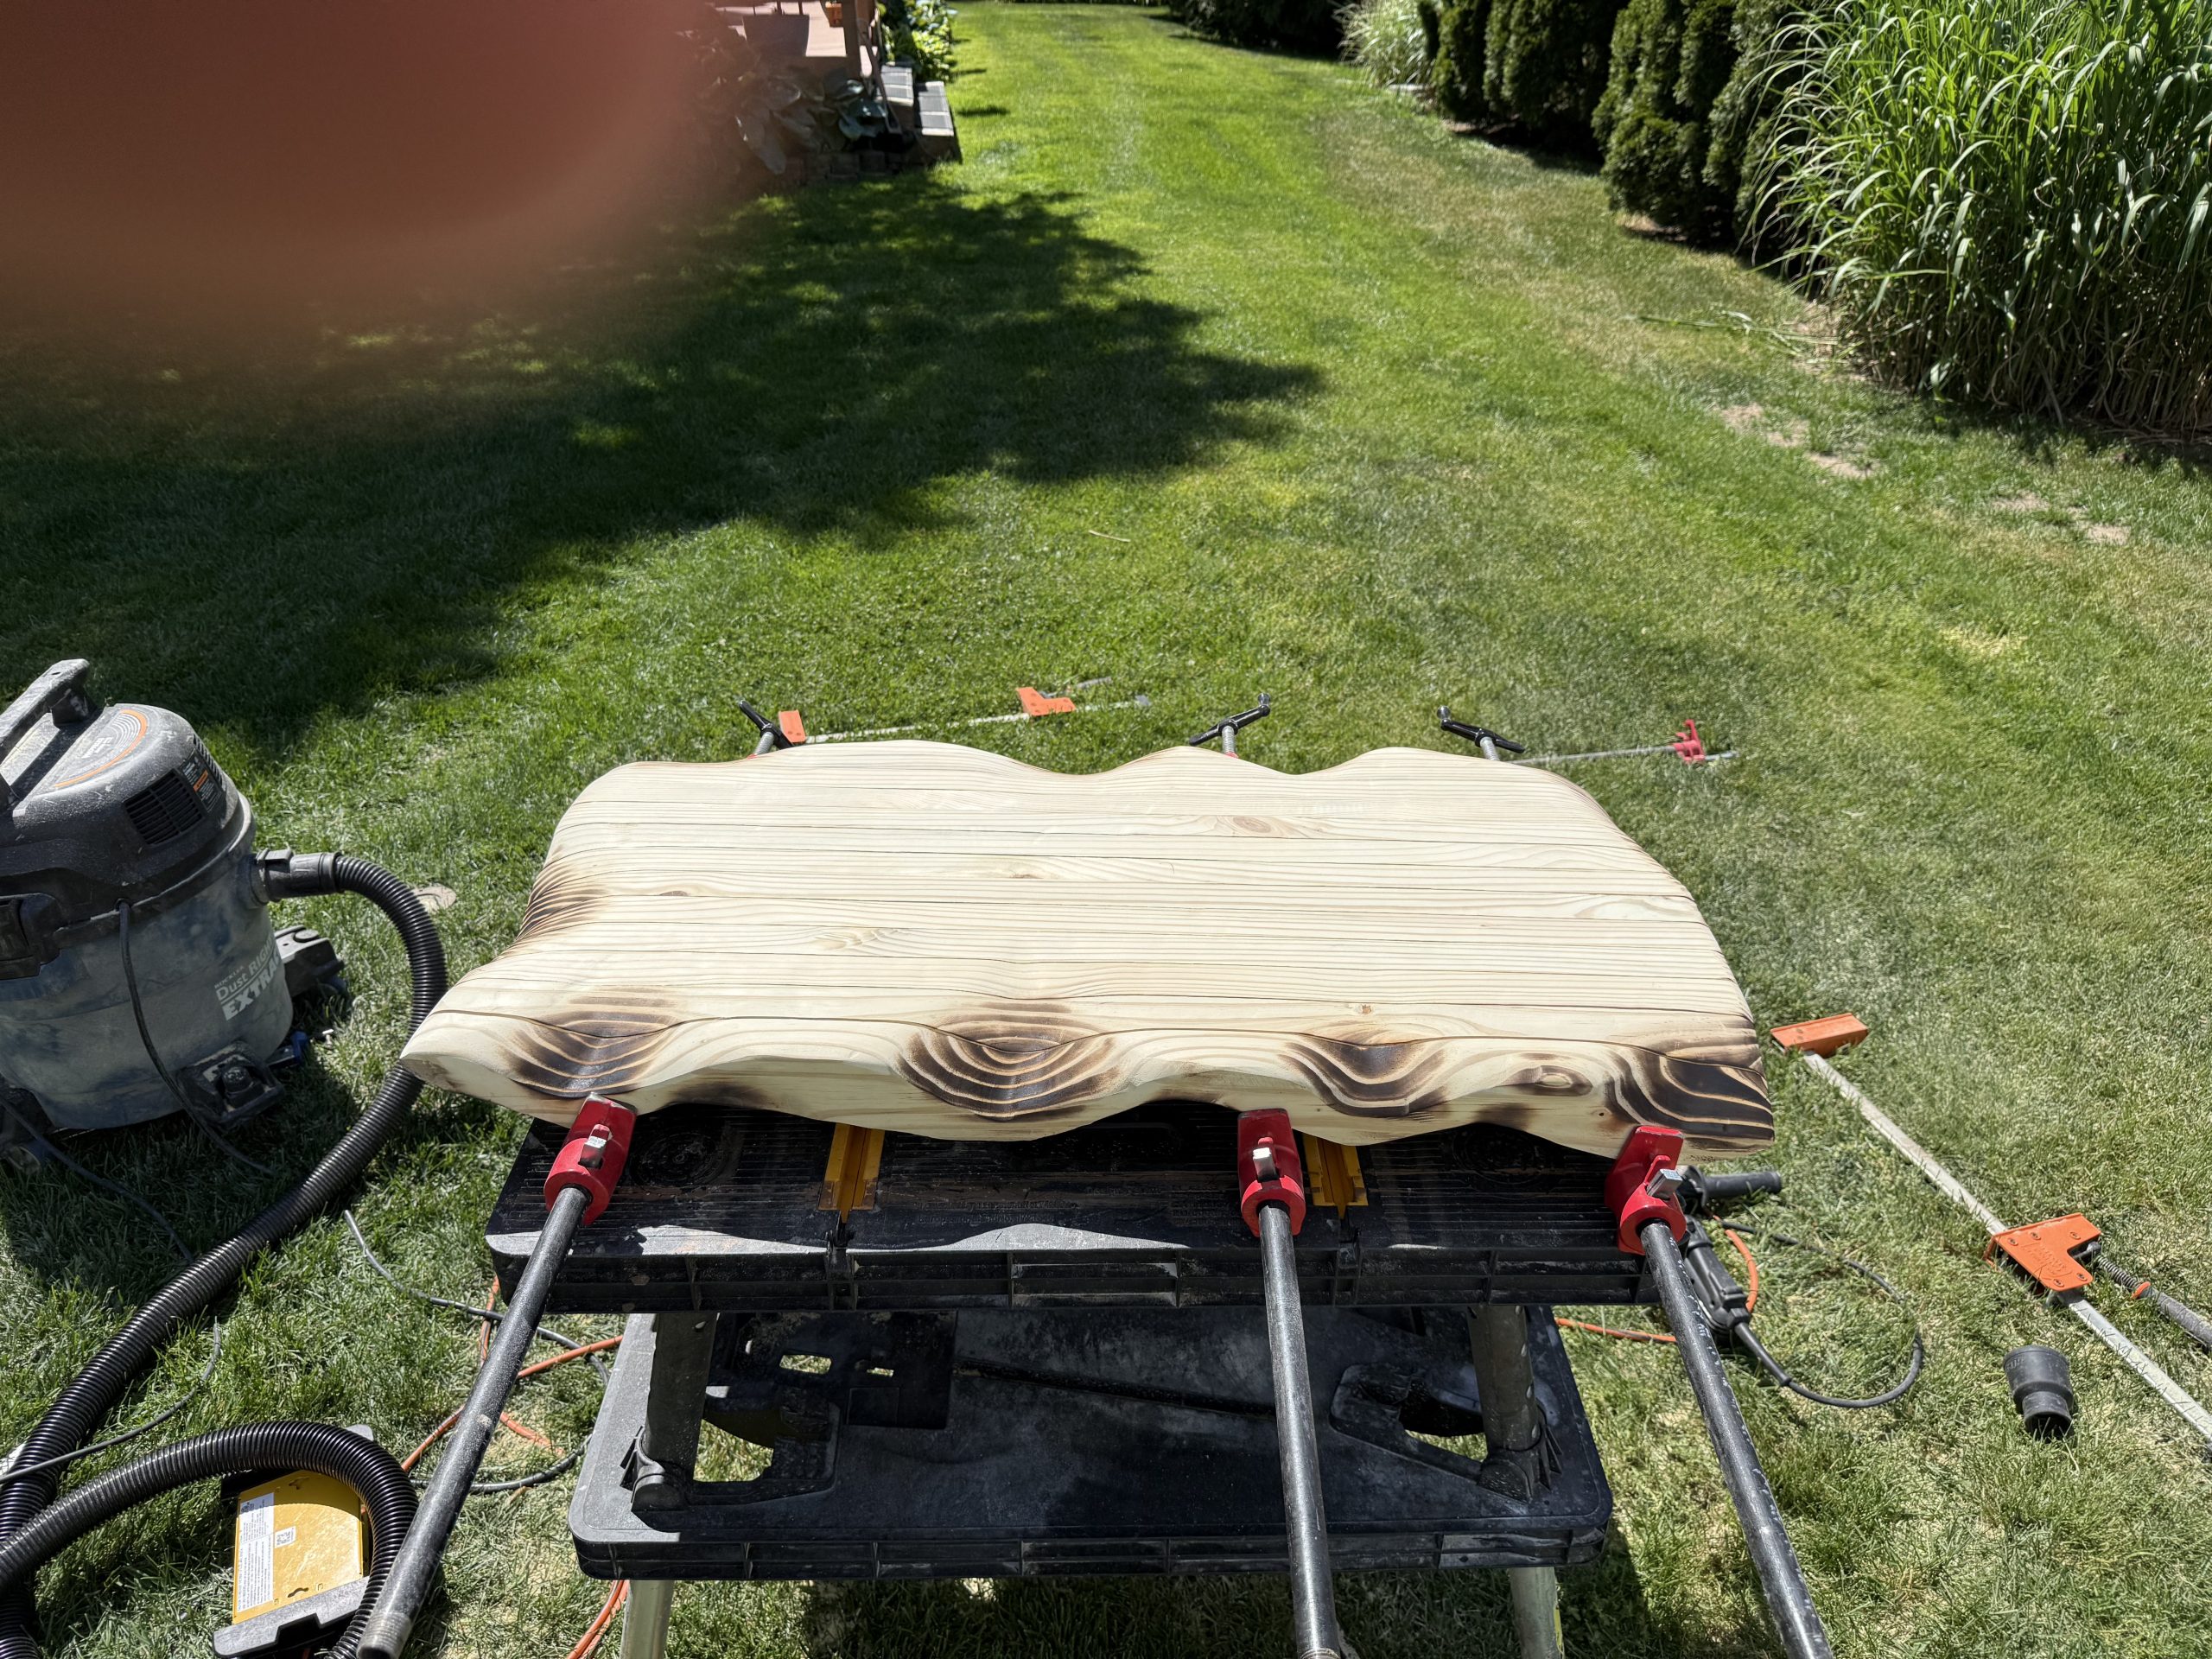
2. Carving the Wave
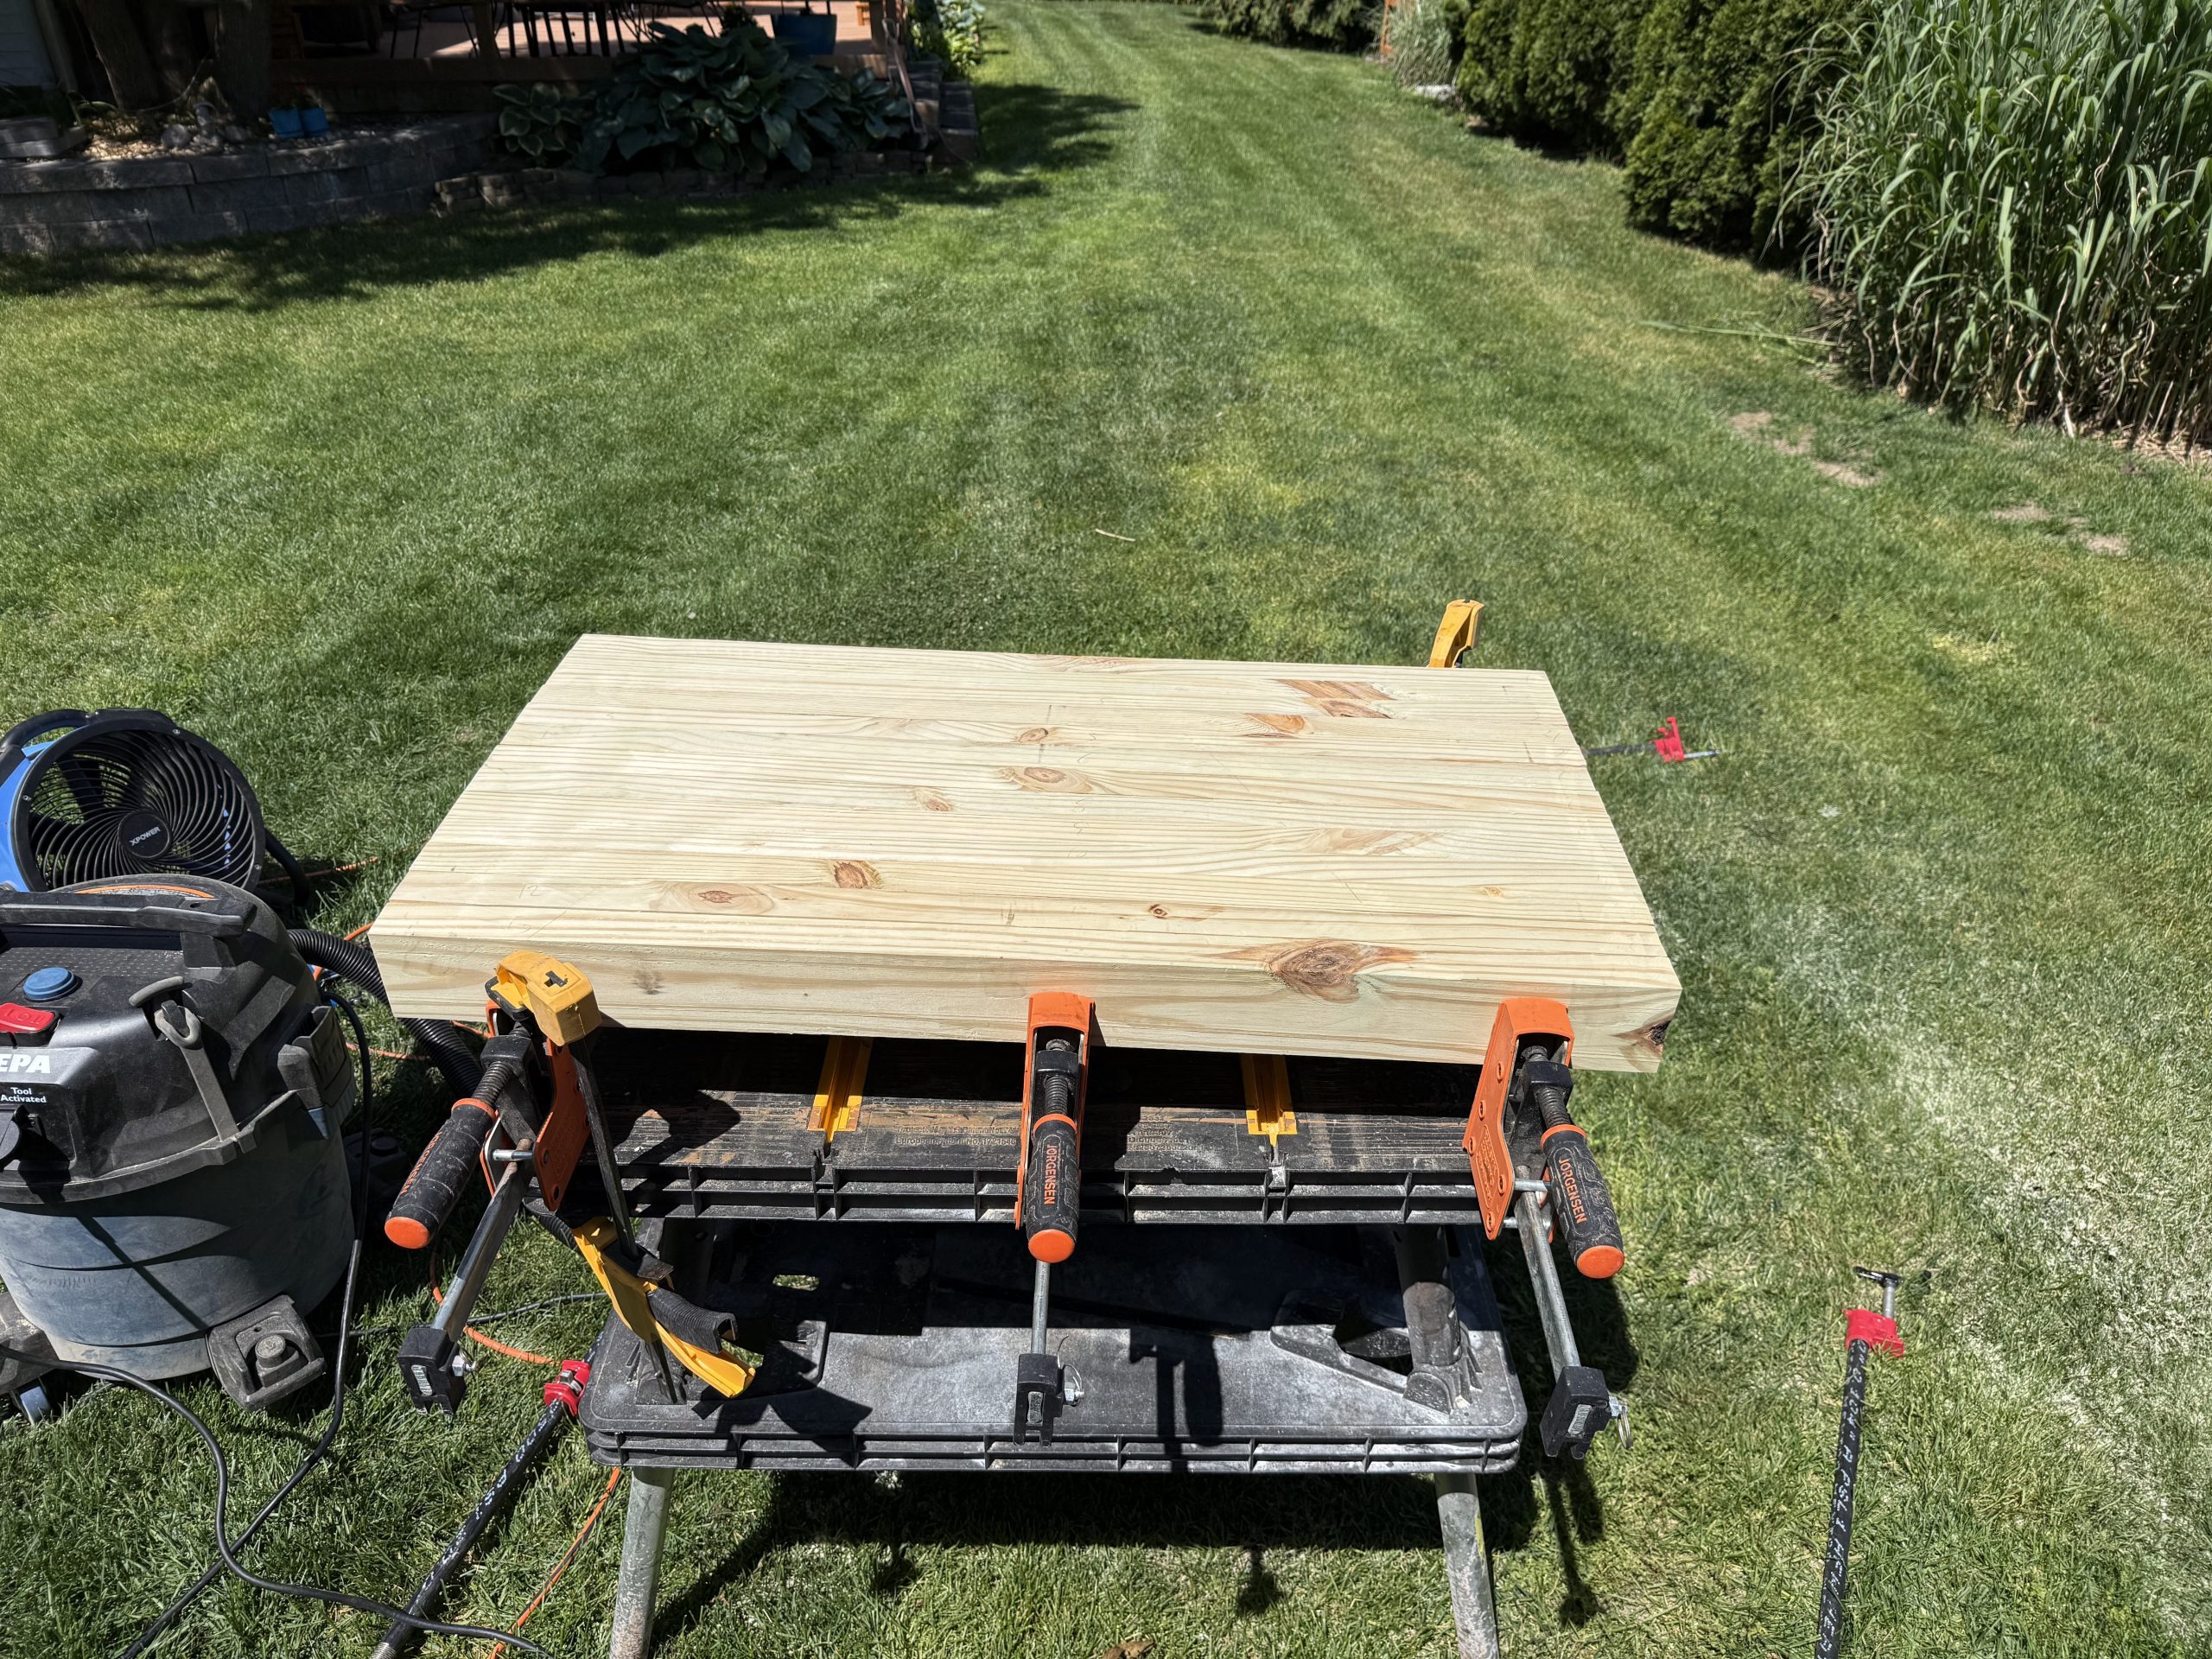
Using a CNC router, we carve the rolling, wind-blown profile into the panel. This is what turns a flat board into a flag that looks like it’s actually flying — and it’s all done freehand from the original slab, so no two are ever perfectly identical.

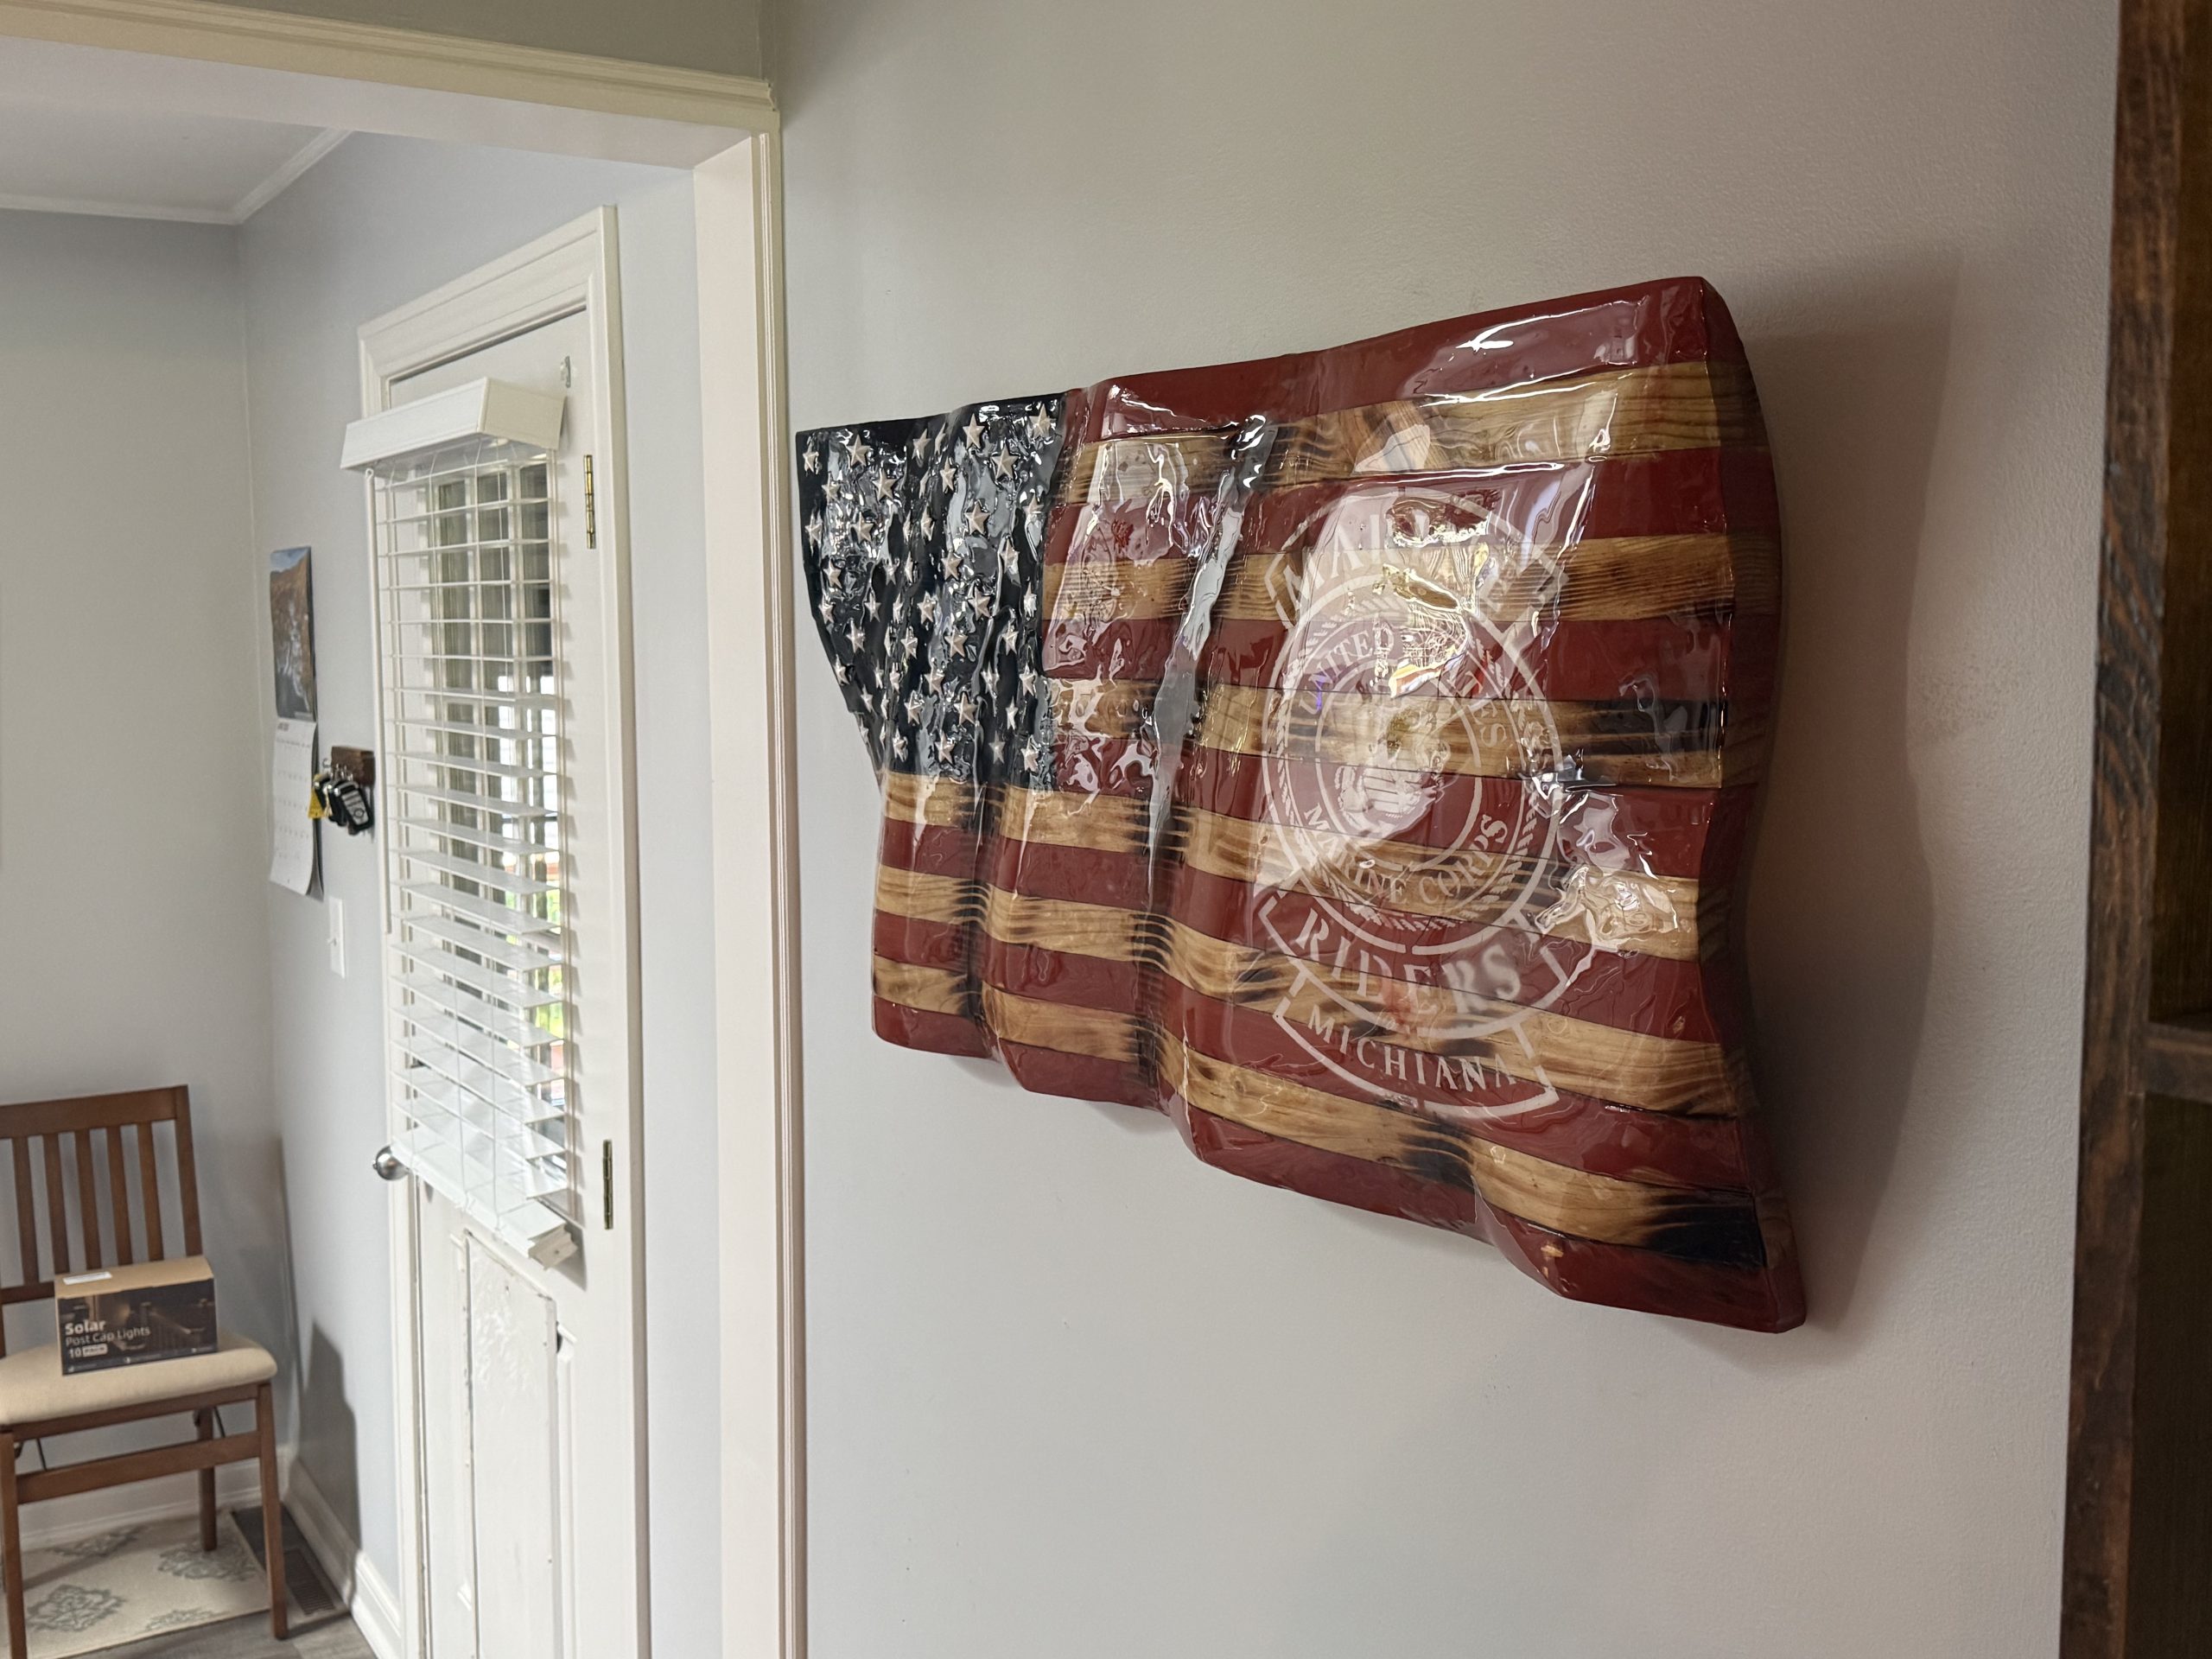
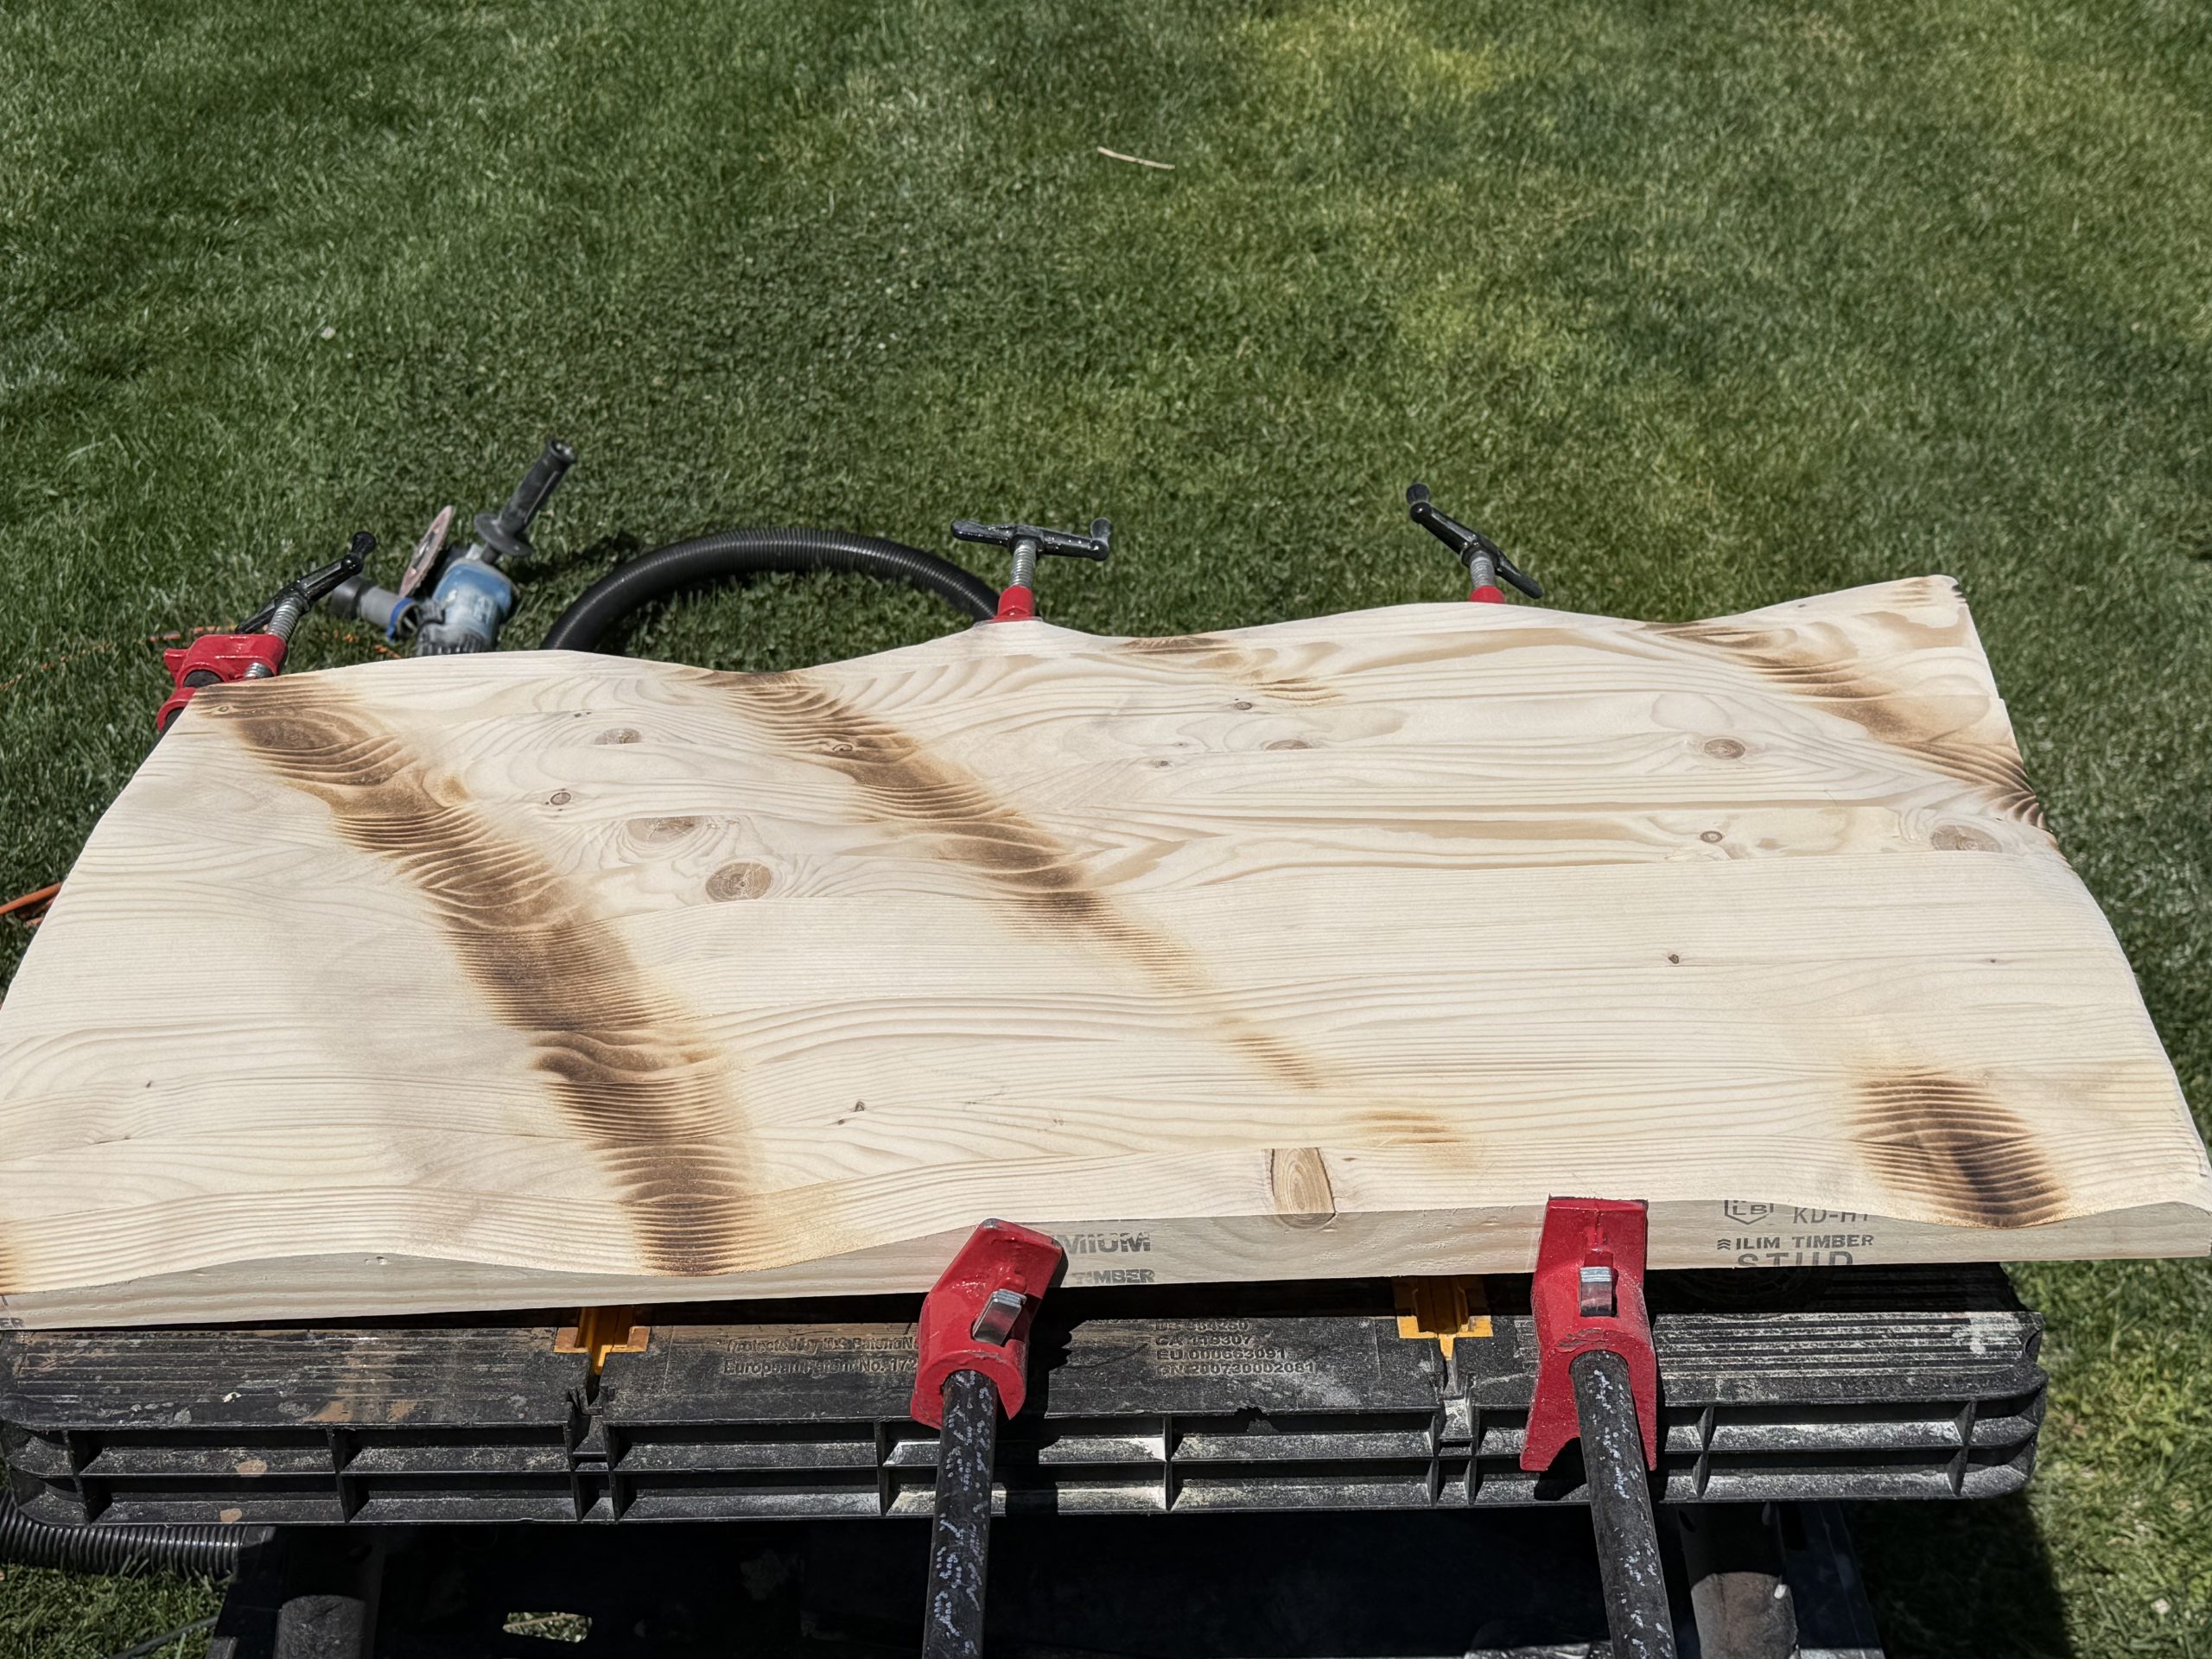
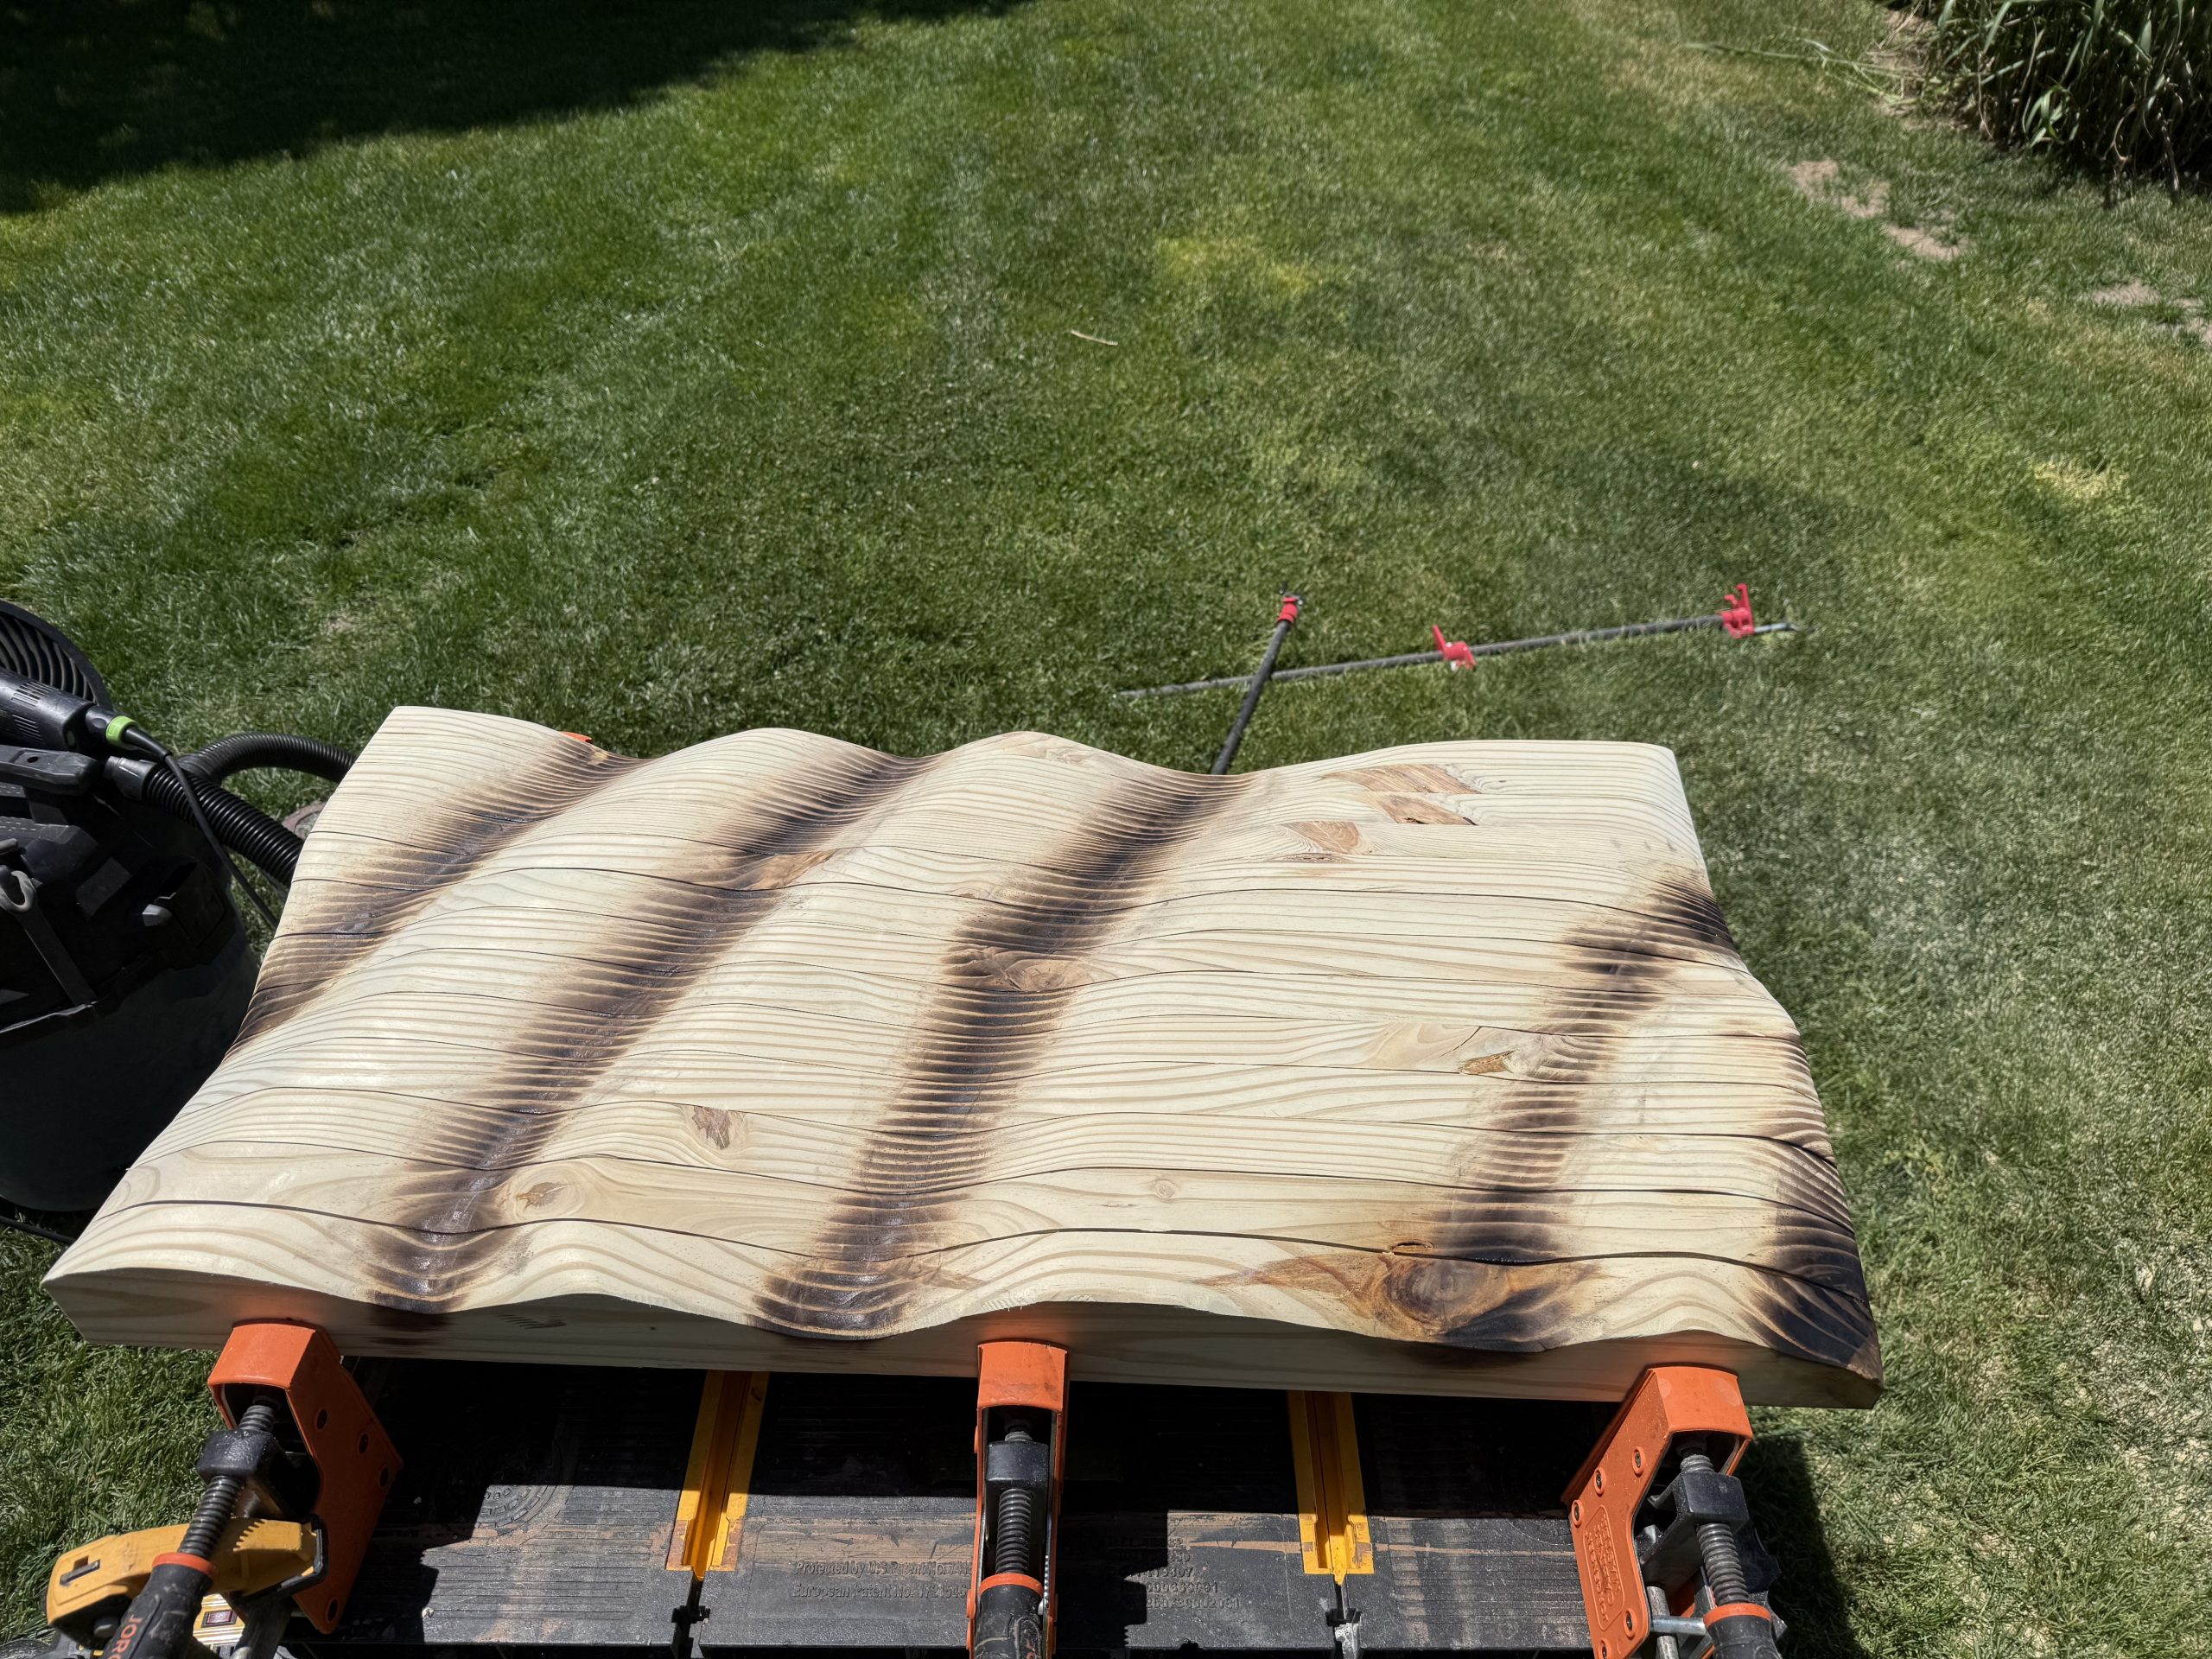
3. Torch-Scorching the Grain
Next, we hand-torch the wood using a shou sugi ban–style technique, scorching the grain to bring out depth and texture before any paint goes on. This step is what gives the finished flag its rustic, weathered character.
4. Painting the Stripes and Stars
Once the scorching is done, we hand-paint the stripes and the star field, letting the torched grain show through so the flag never looks flat or plastic.

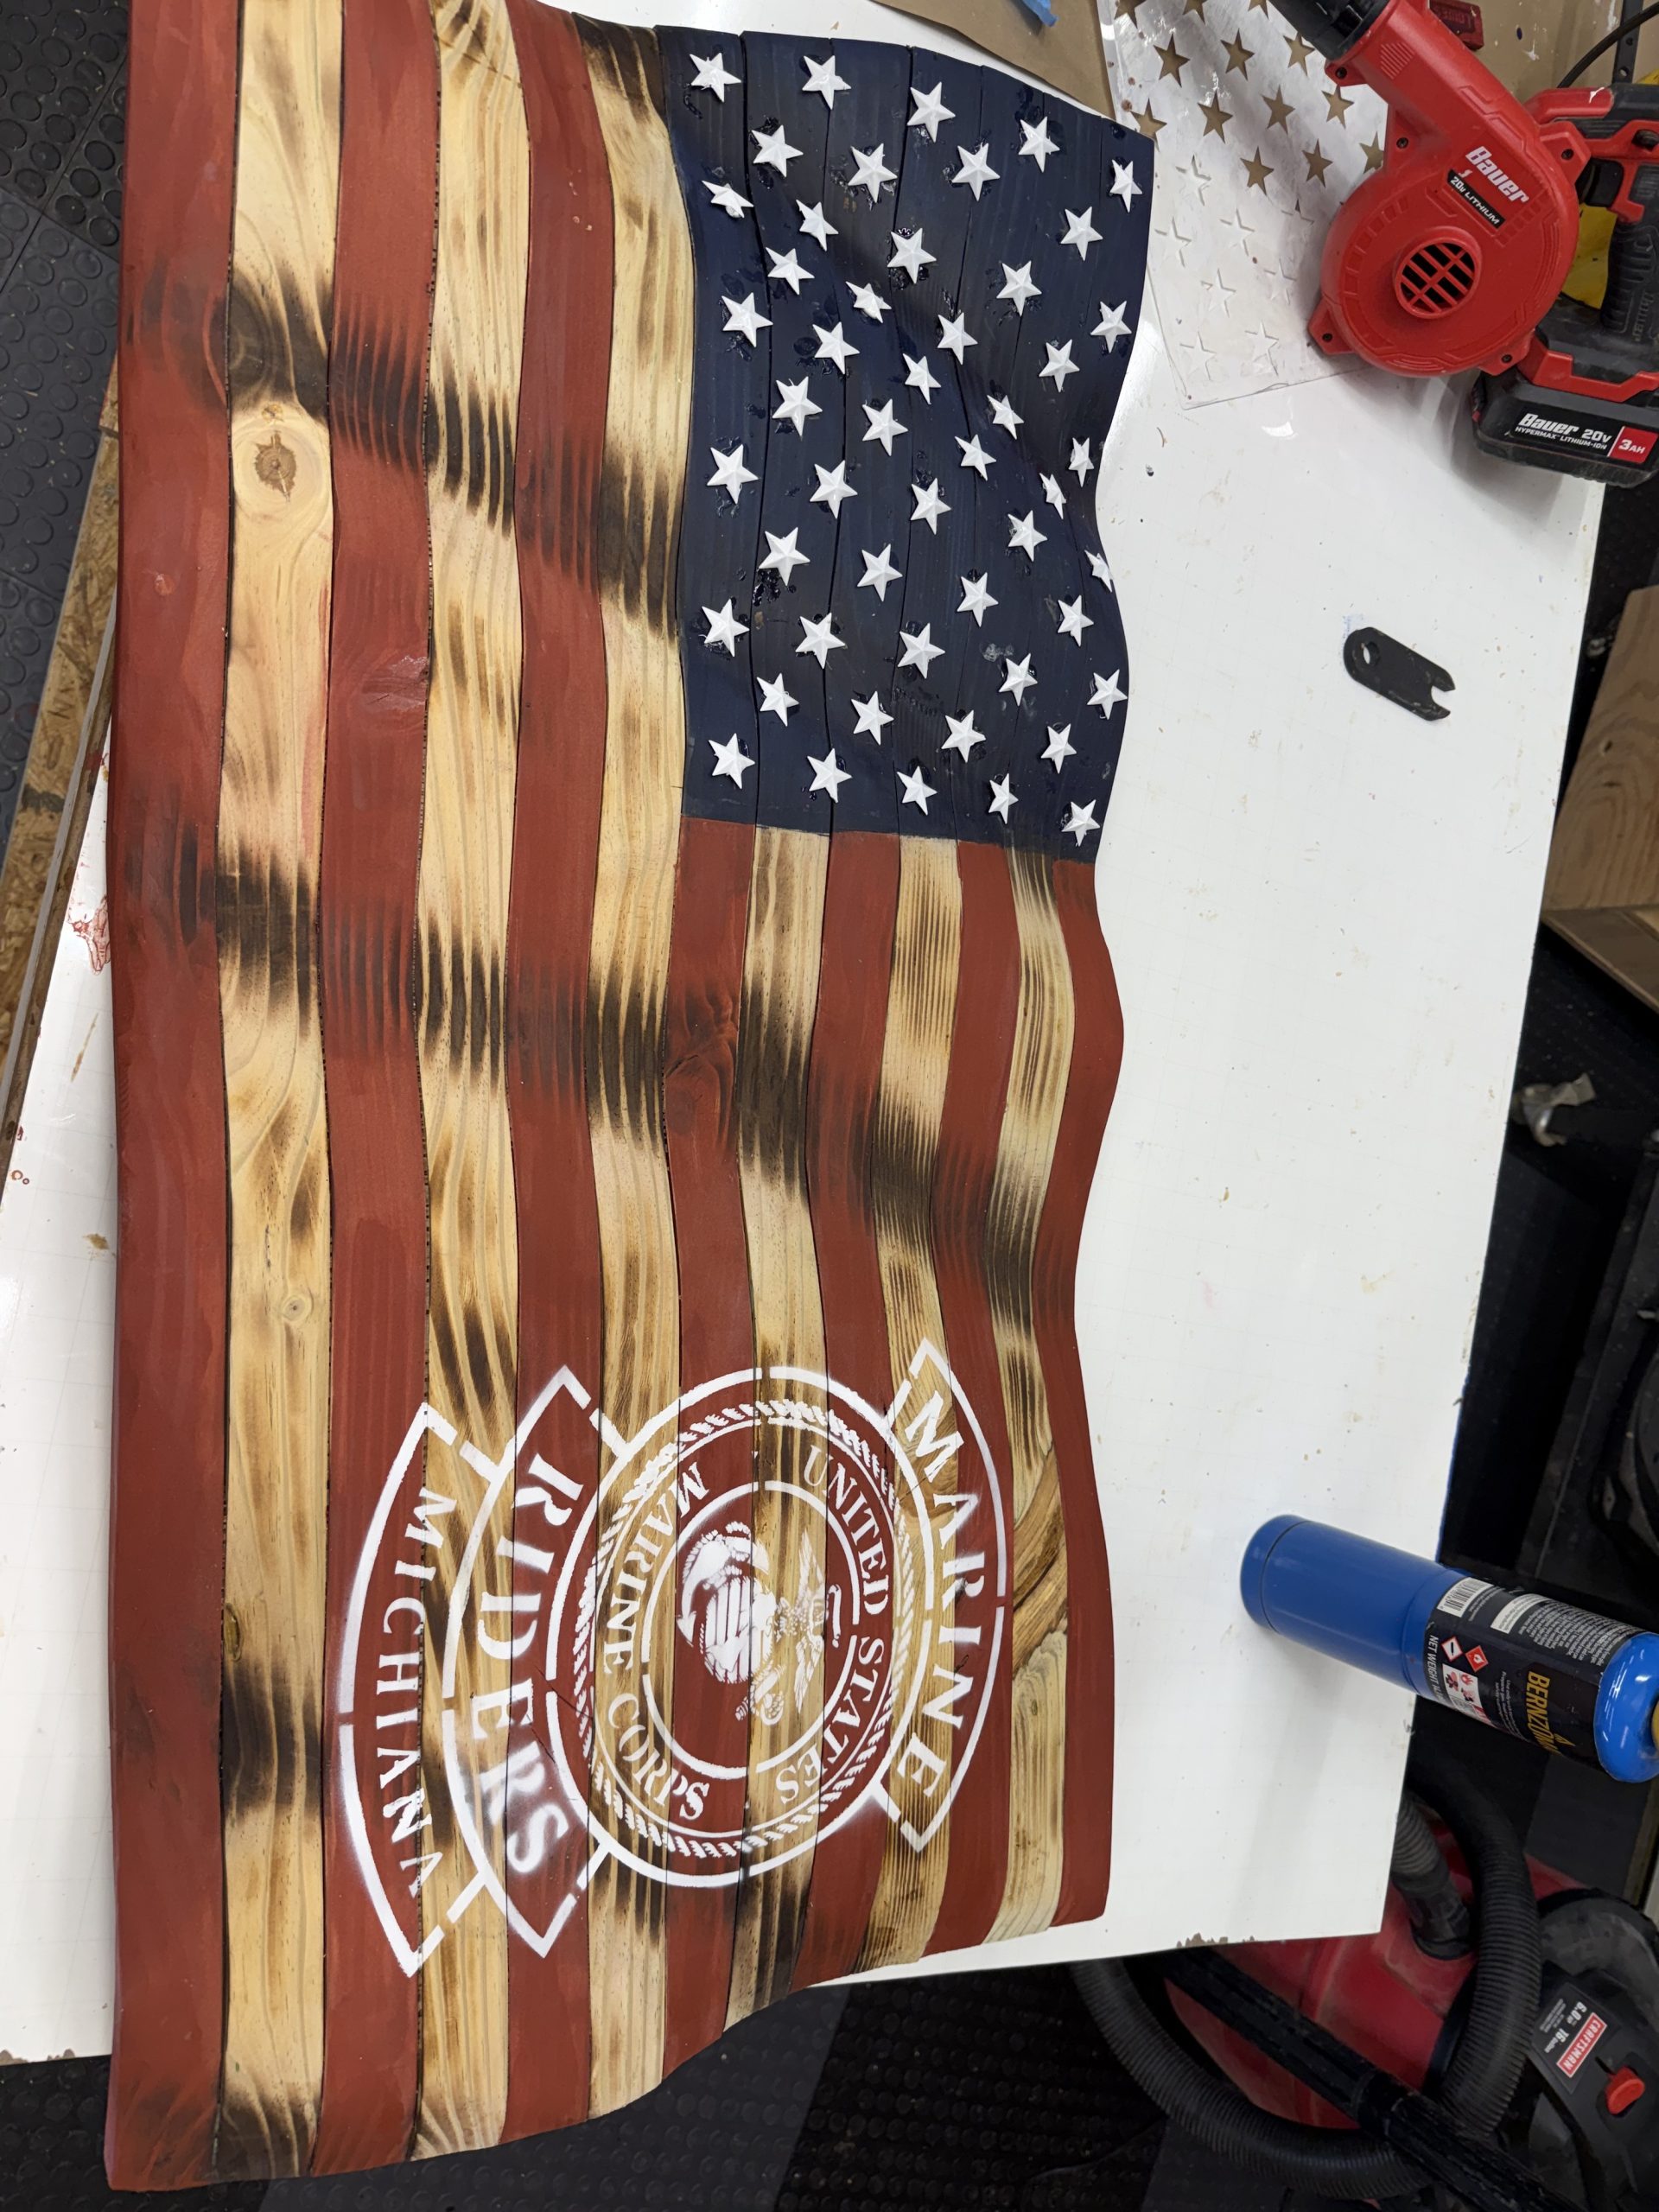
5. Stenciling the Emblem
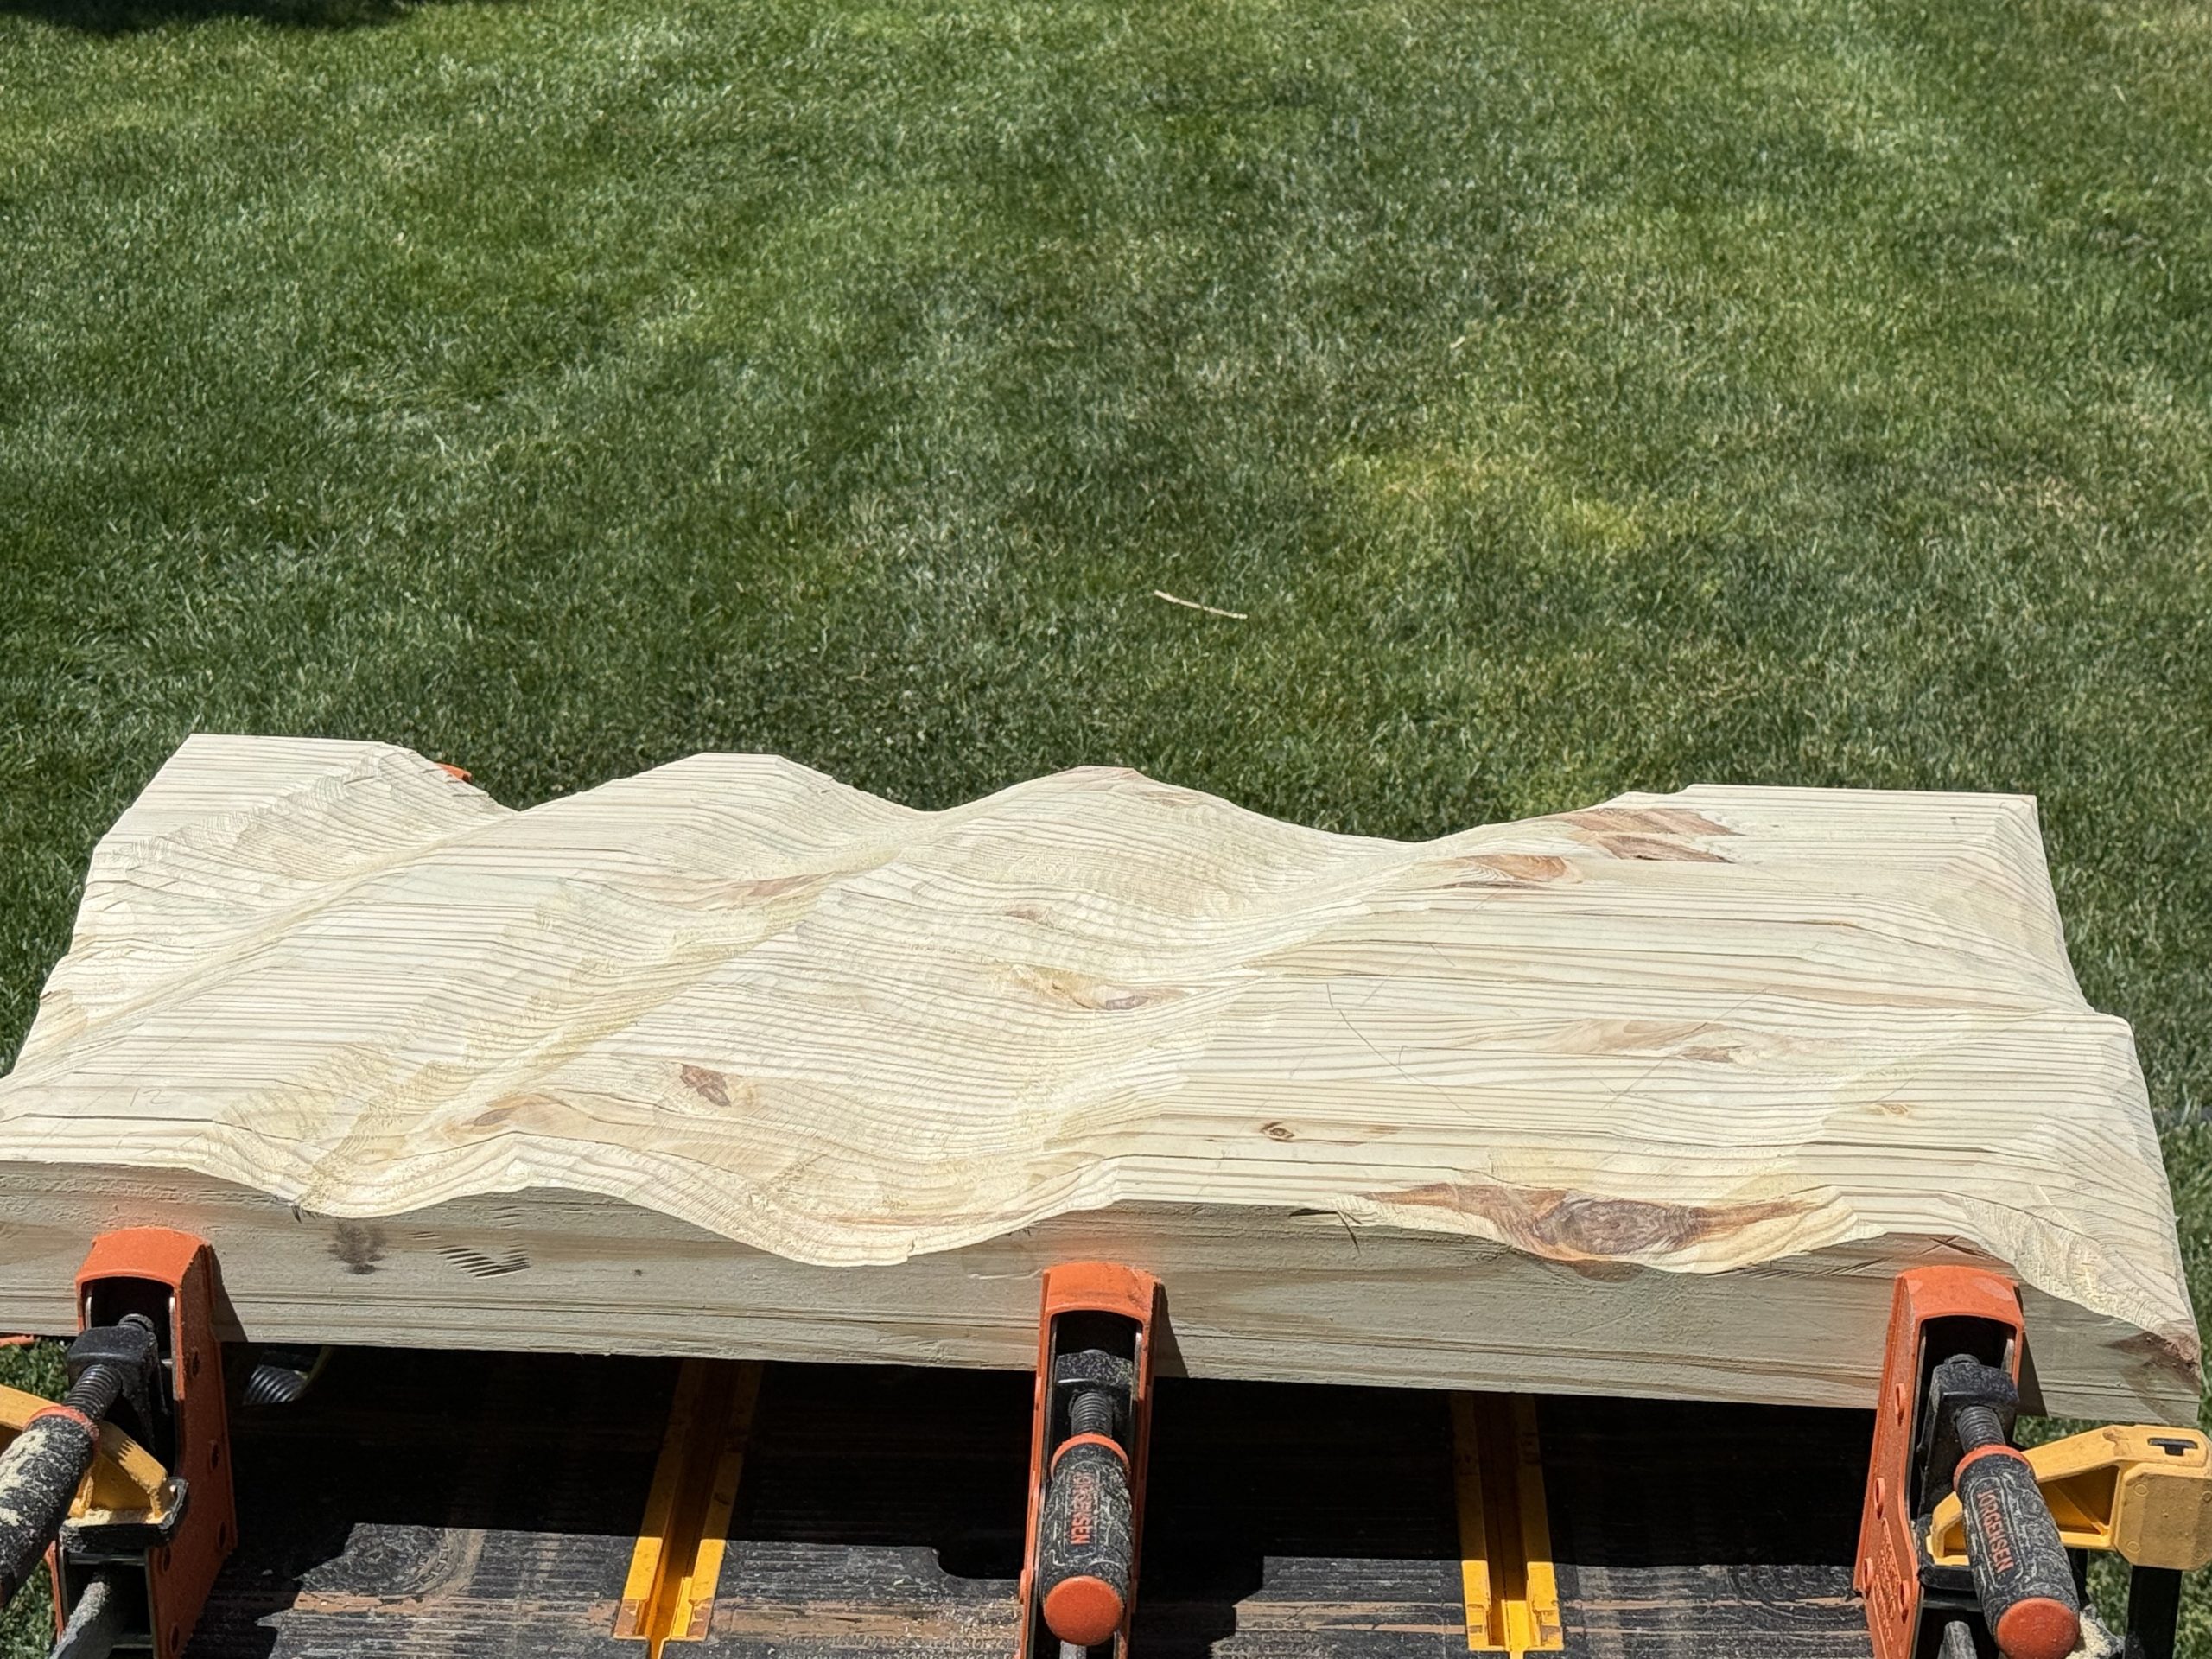
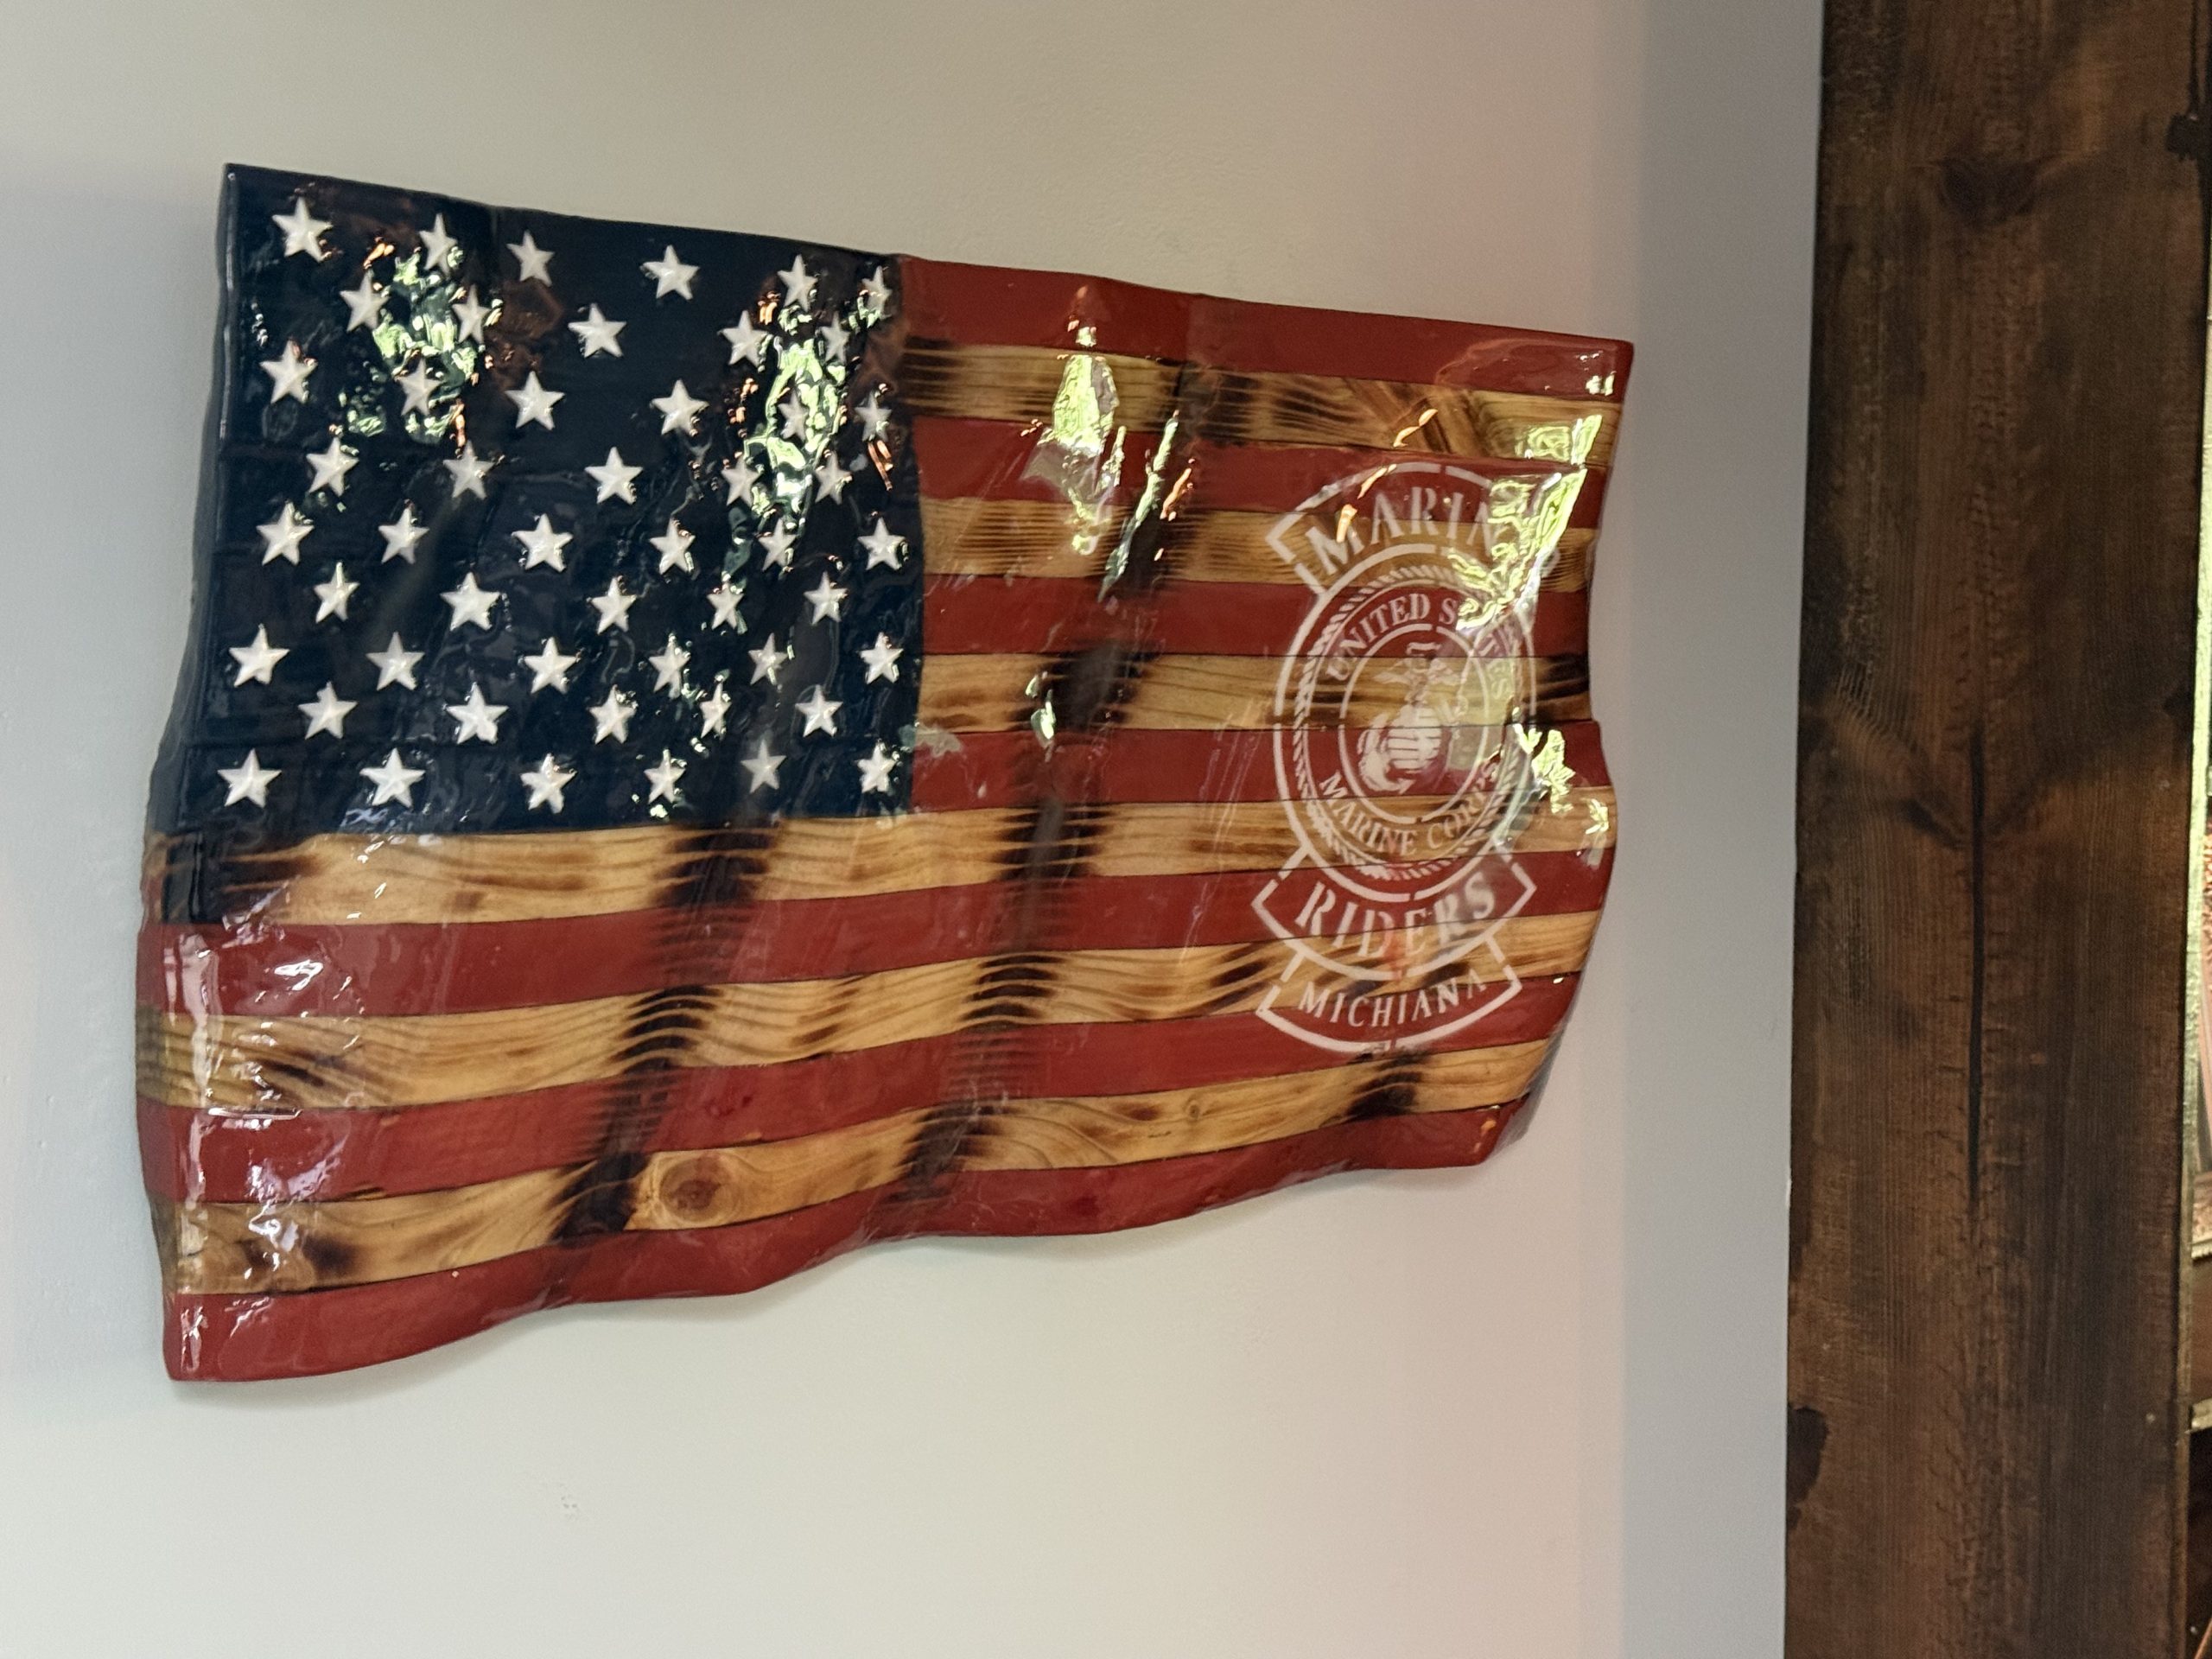
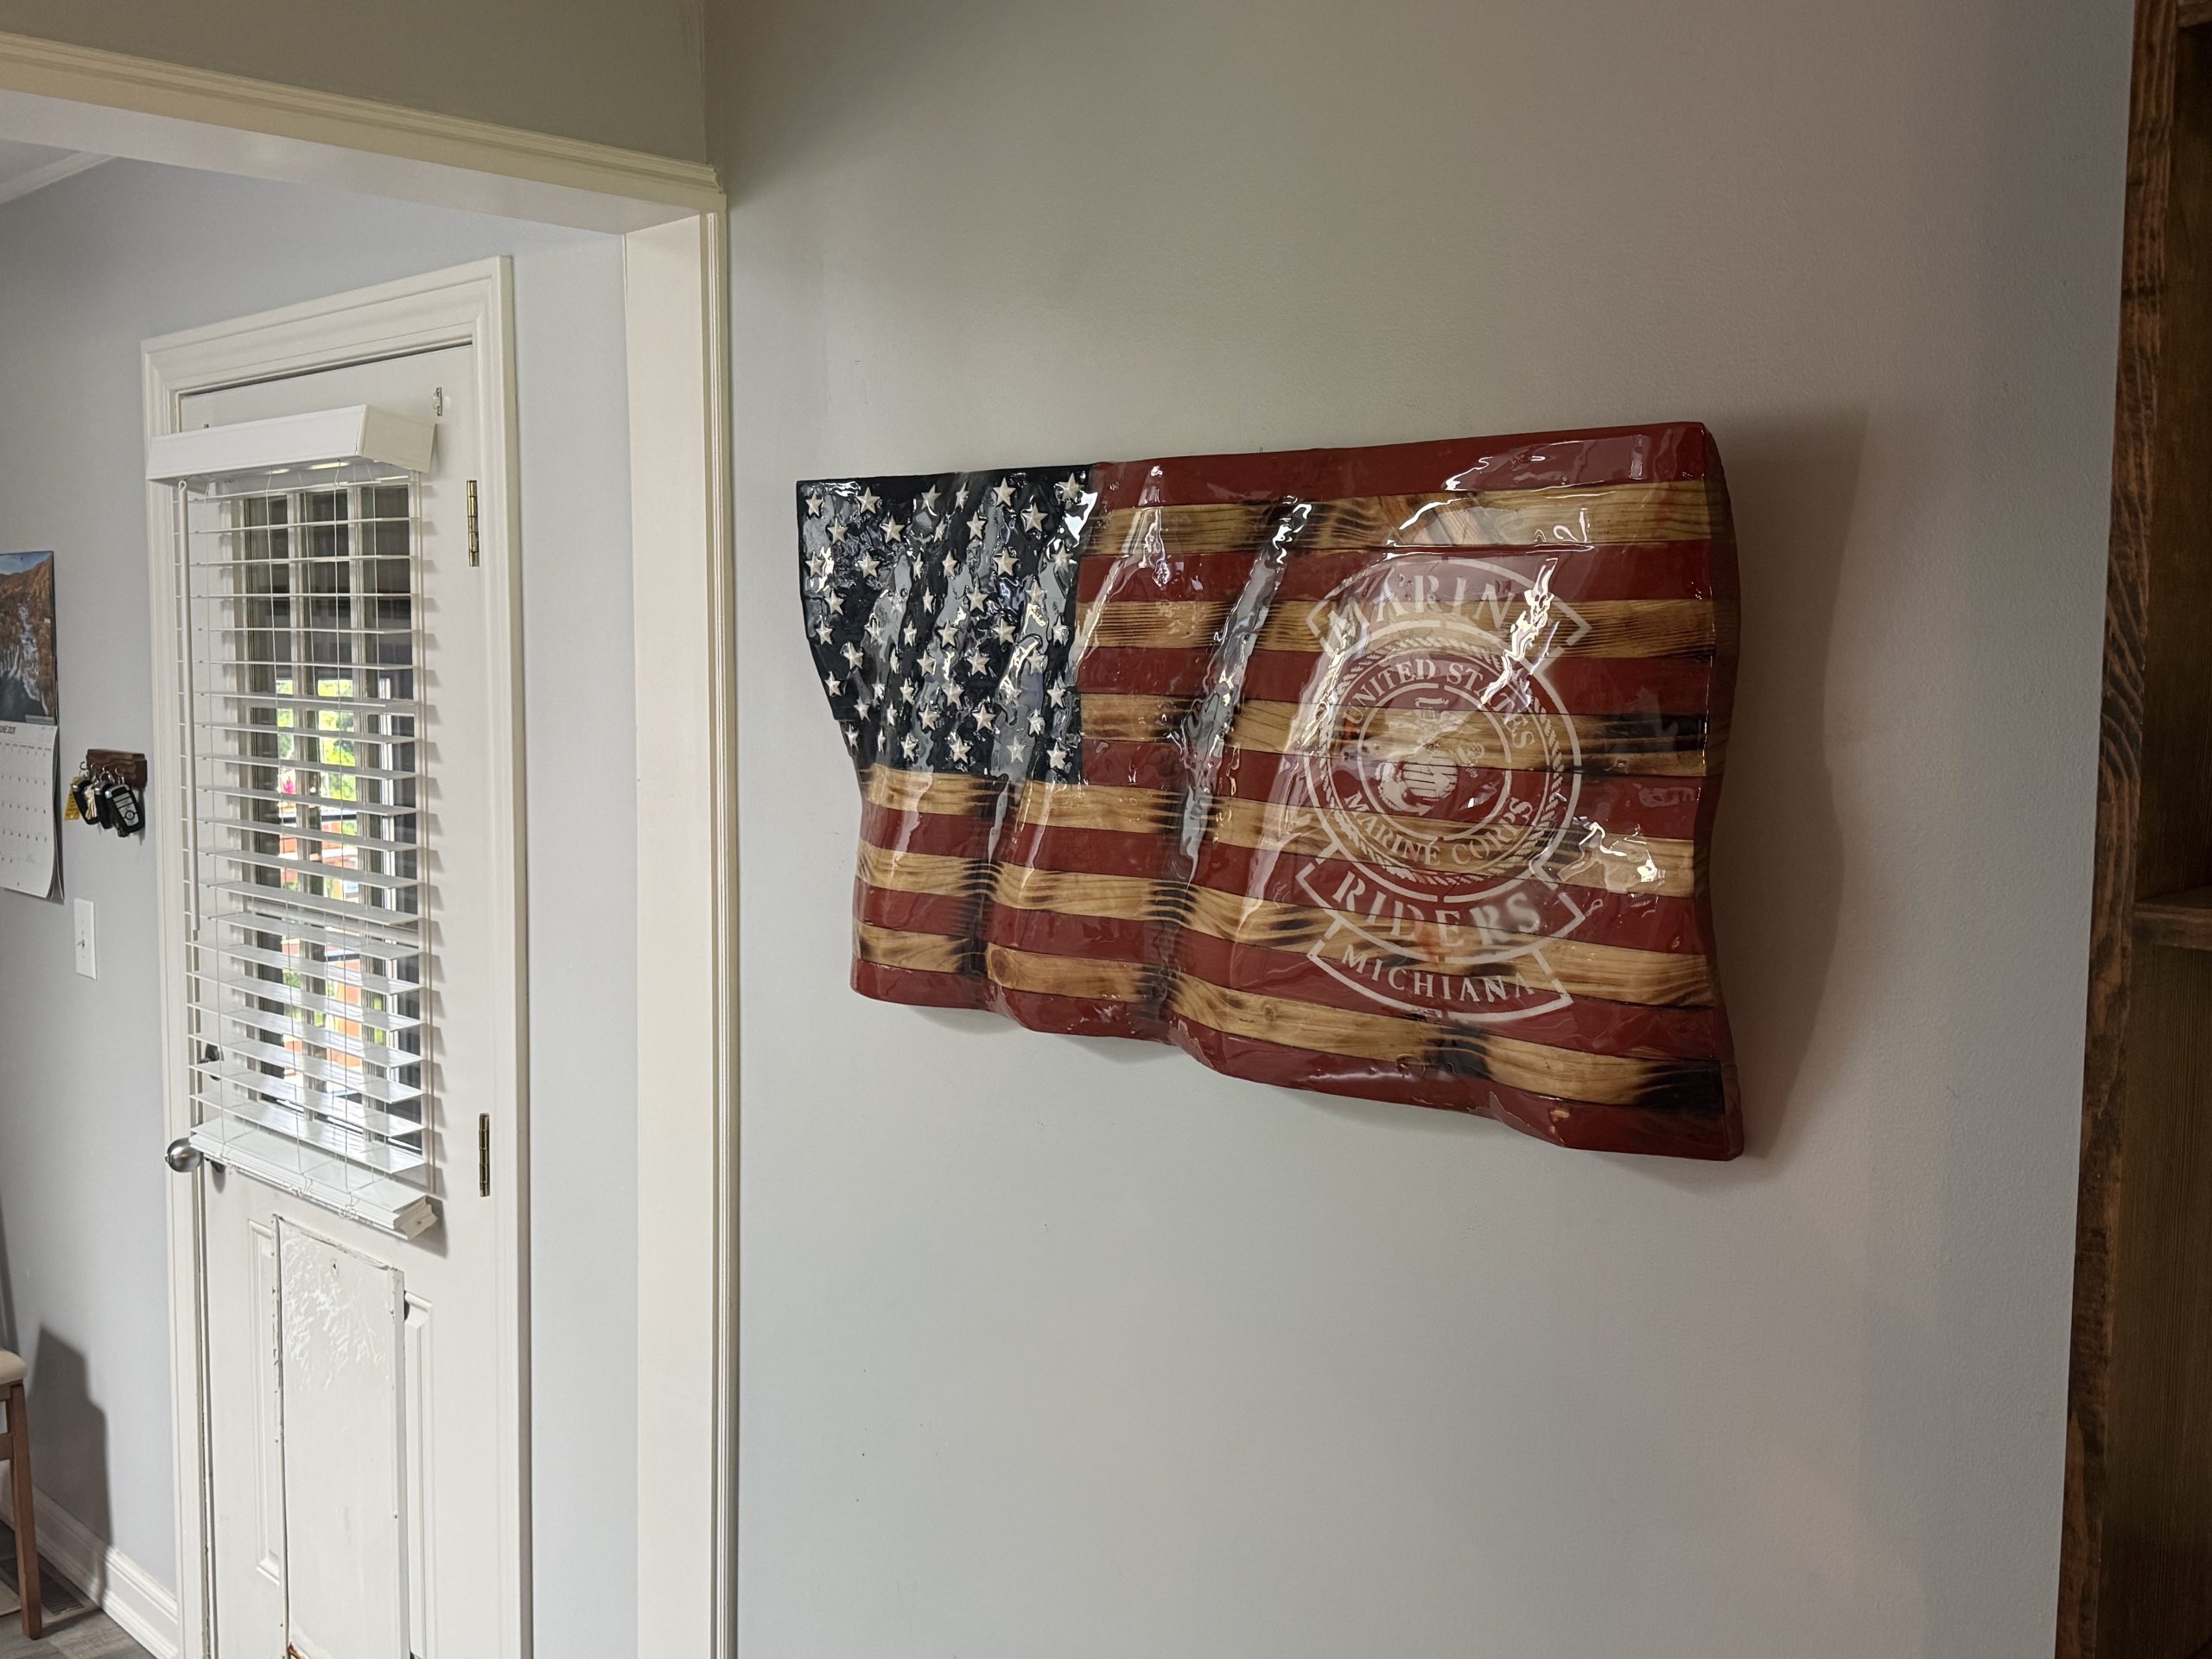
For pieces like this one, we stencil on a custom emblem — in this case, the Marine Riders Michiana Marine Corps insignia. This is where a flag becomes personal: a unit, a club, a family name, whatever tells your story.
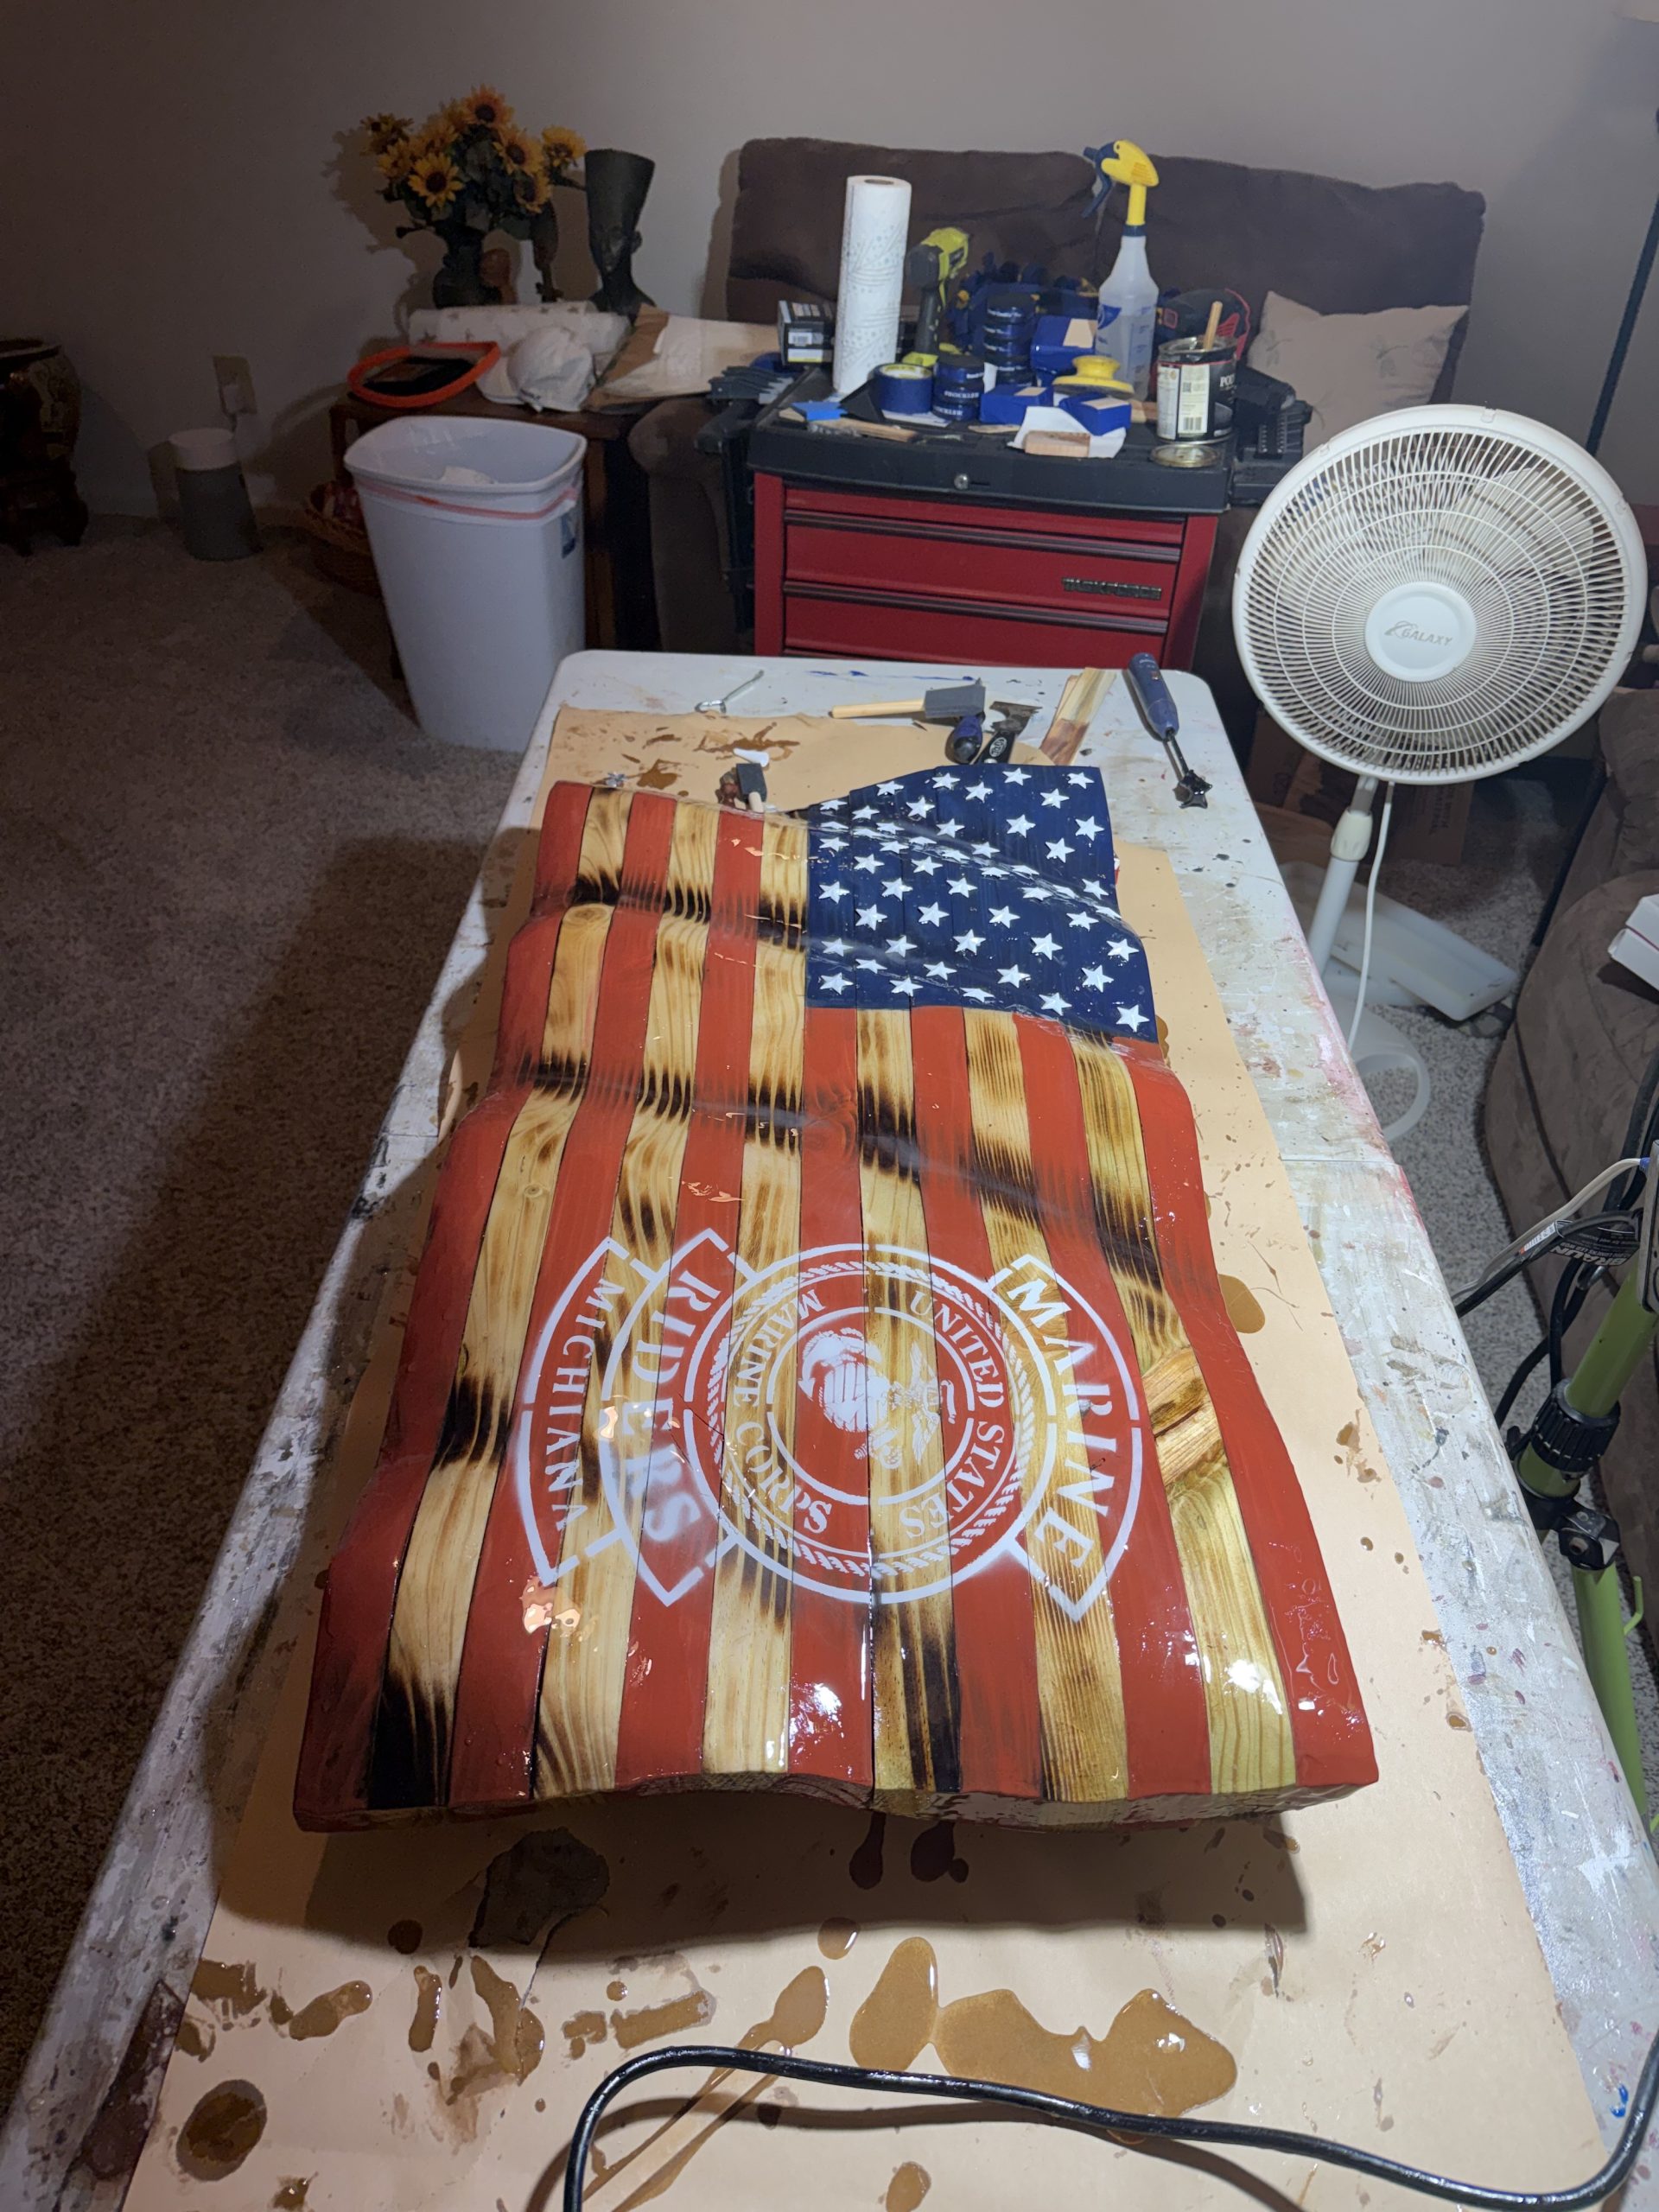
6. The Epoxy Resin Finish
A hand-poured epoxy resin coat seals and protects the piece, giving it that deep, glass-like shine while locking in the wood grain and colors underneath for the long haul.
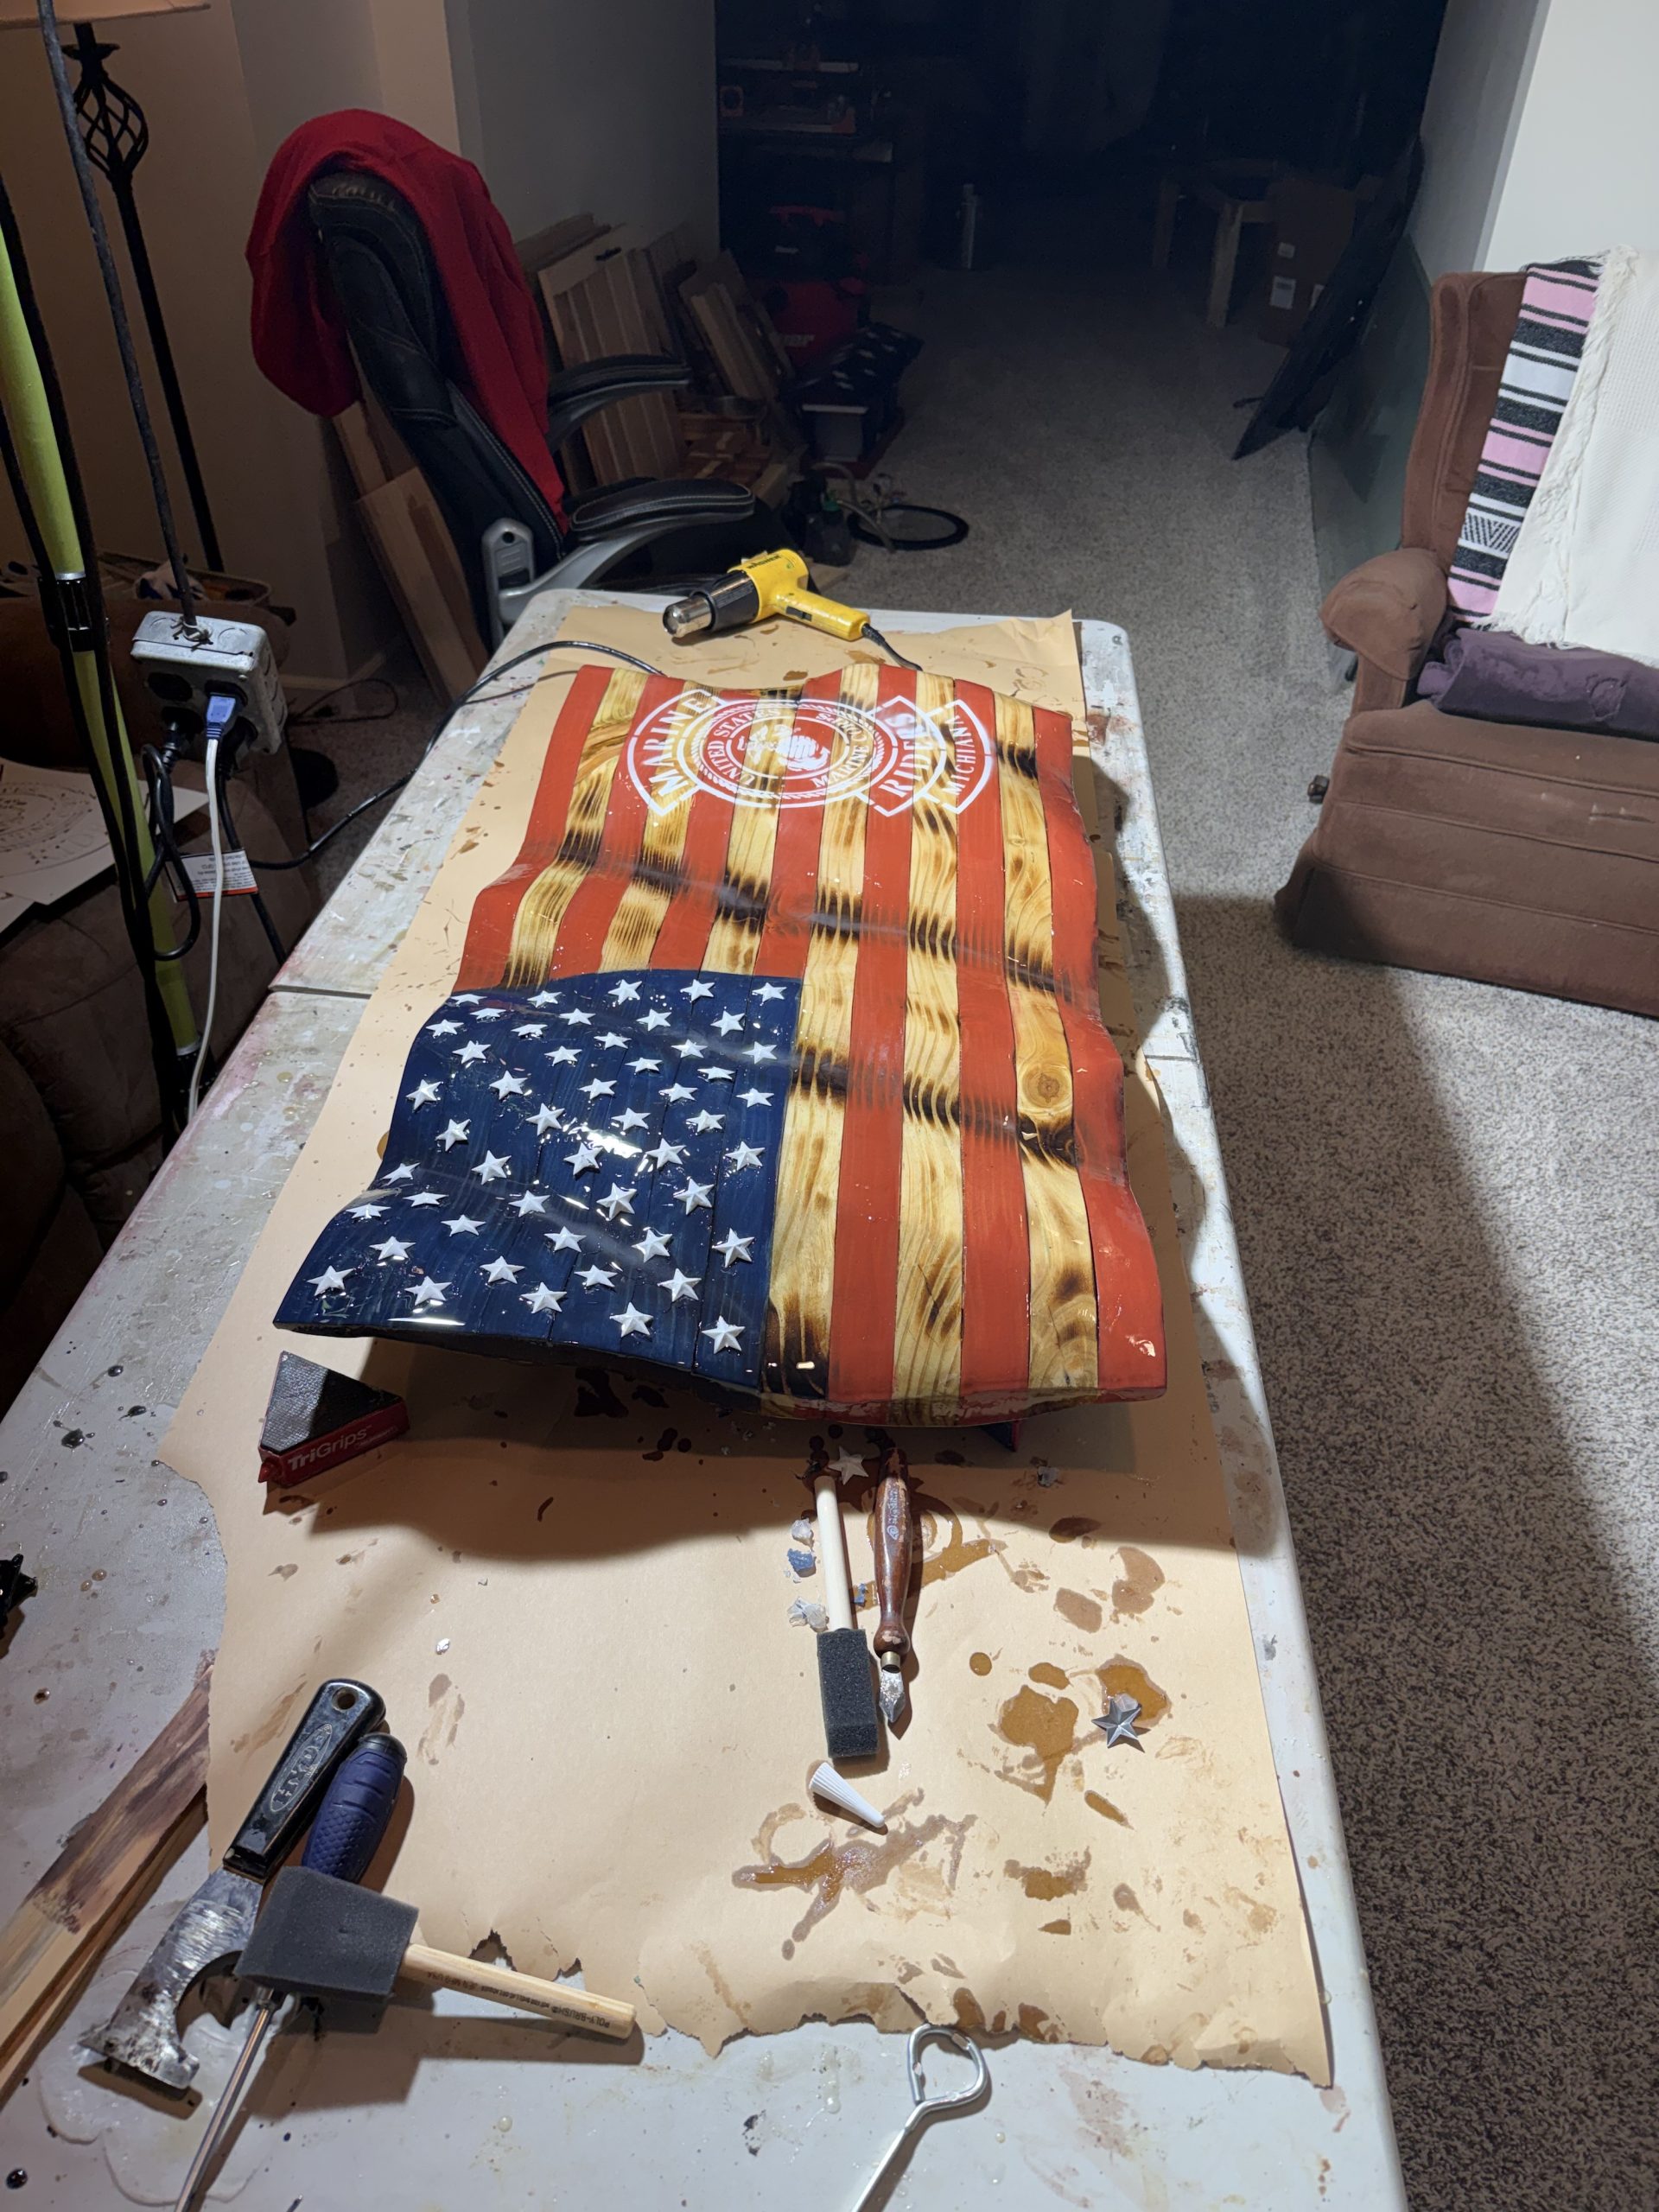
7. The Finished Flag
Once the epoxy cures, the flag is ready — sanded, sealed, and hung with the mounting hardware built right in.
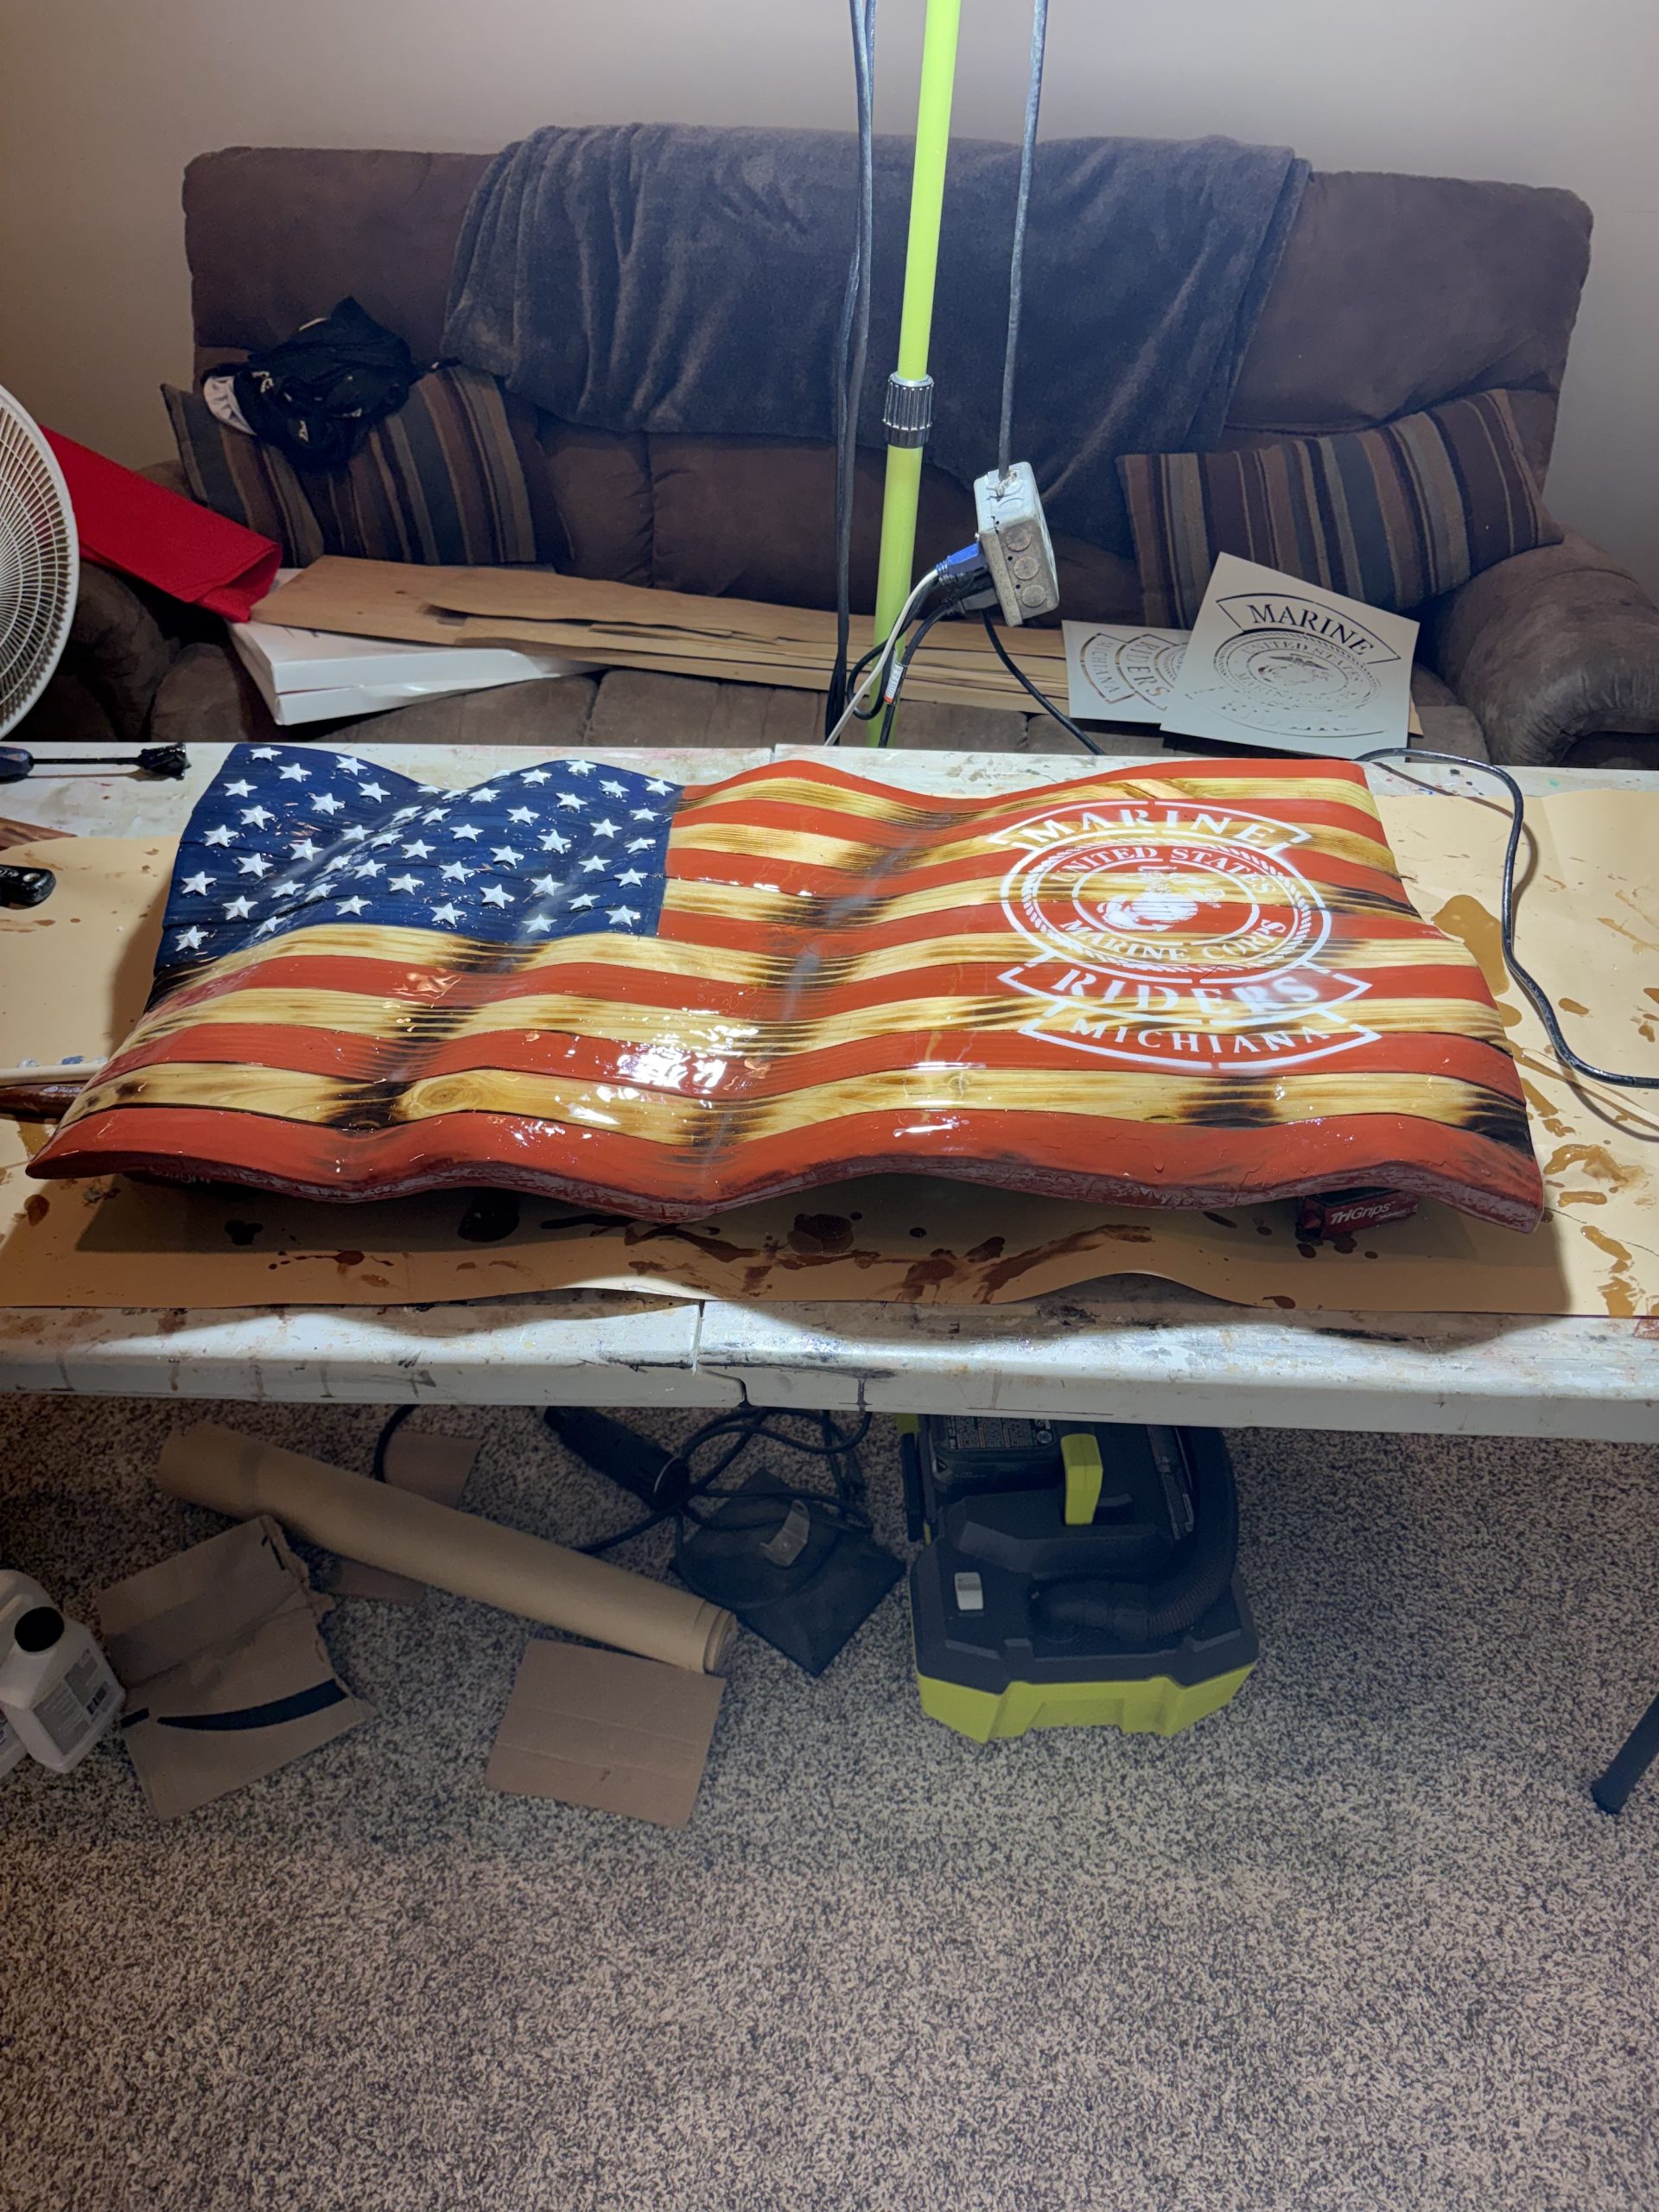
8. Home
From a rough board to a piece that hangs proudly in someone’s home. This is why we do what we do.

Want something built the same way — your own emblem, colors, or story? Request a quote and let’s talk about your custom piece.